
ACCESS TO CPANEL
The first thing we must do before proceeding to the next steps is to access our CPanel. For this we will simply have to open a browser (Google Chrome, Firefox, Explorer, etc.) and enter the URL in the IP address and port for access to our Cpanel.
Next, the Cpanel login will appear in which we must enter user and password.
Once the correct username and password have been entered, we will have access to our cPanel and we can continue with the next steps of the guide.
HOW TO ADD A NEW DOMAIN IN CPANEL
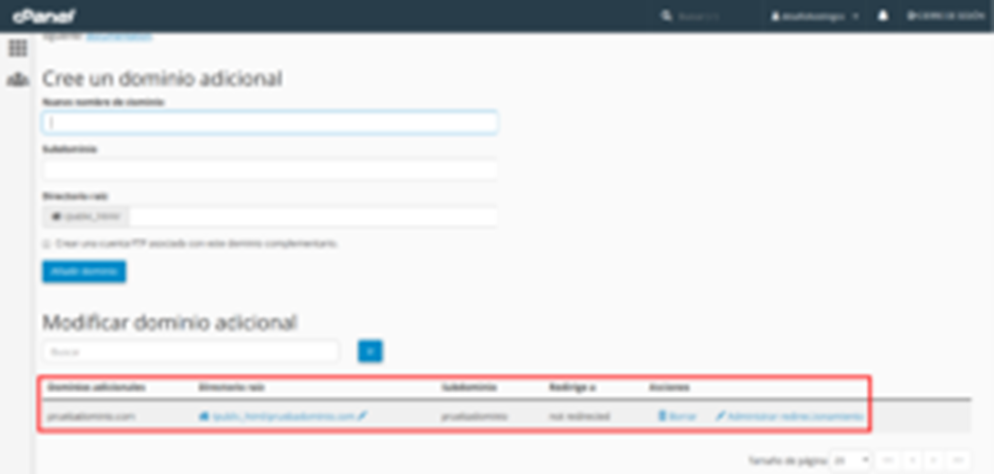
To add a new domain we must go to the section of "Domains" from our cPanel and select the option "Additional domains".

Once inside, the following window will open:
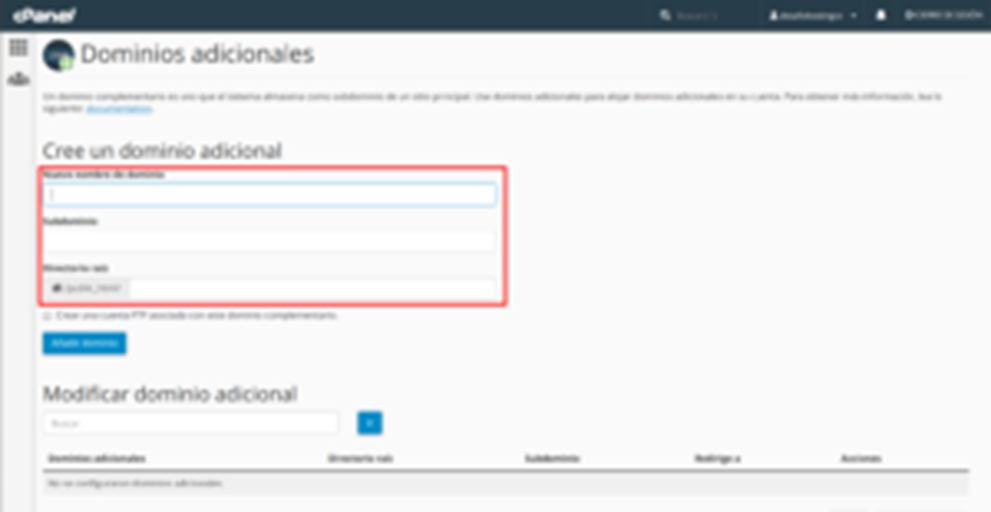
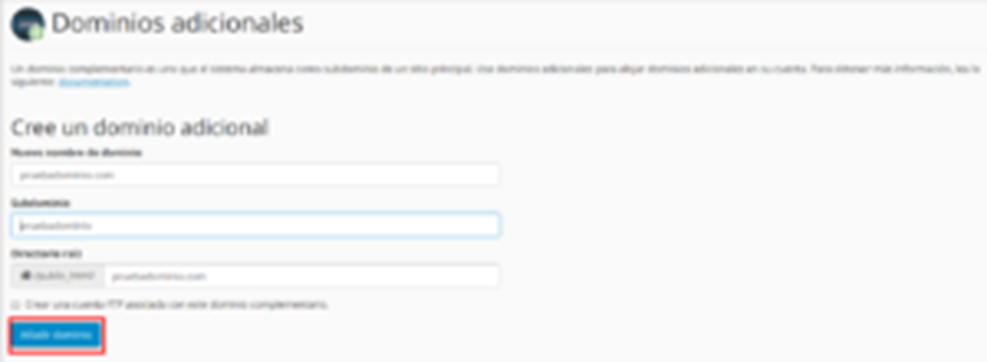
We must fill in the first field called «New Domain Name» entering the name of our new domain, for example «Trydomain.com» which is the one that we have used for this guide as can be seen in the next slide.
Once we have entered our domain name in the first field, the rest of the following fields will be filled in automatically and we will only have to press the button "Add domain".
Then a message should appear confirming the success of the process and that our domain has been added successfully.
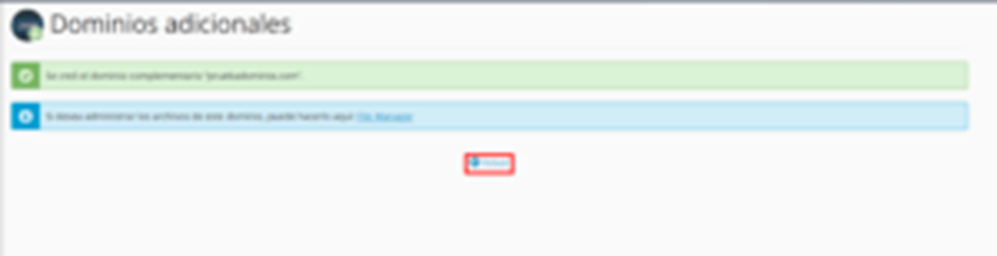
Finally we can check that our domain has been created correctly
HOW TO ADD A SUBDOMAIN IN CPANEL
To add a new domain we must go to the section of "Domains" from our cPanel and select the option "Subdomains".

A window will open with blank fields to fill in where we must put the data of our new subdomain.
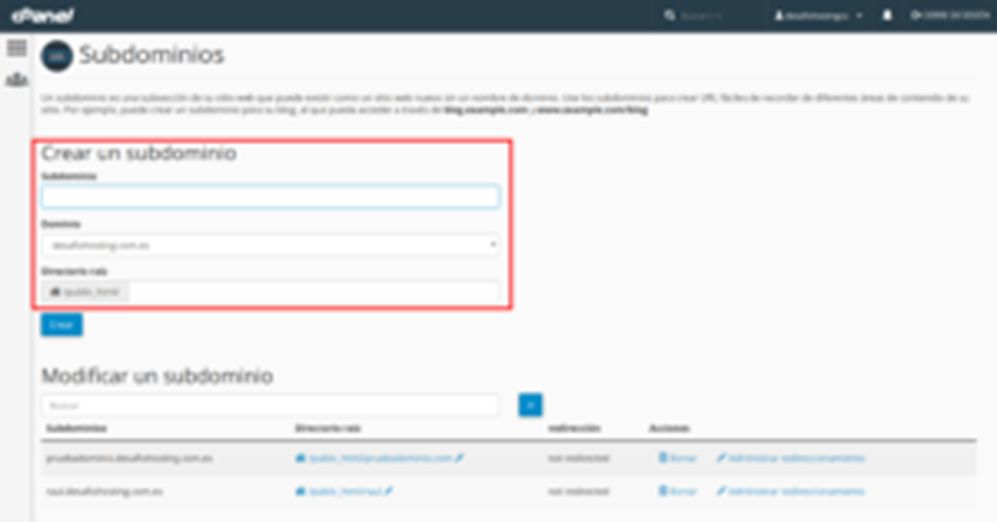
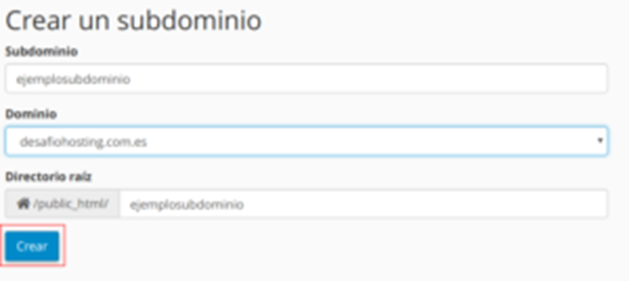
We will have to fill them in so that in the first field we put the name of our subdomain and just below we will select the domain we want it to be associated with, the last field will be filled in automatically at the moment we choose a name for our subdomain.
Once we have completed all these steps we must click on the create button in order to start the process of creating our subdomain.
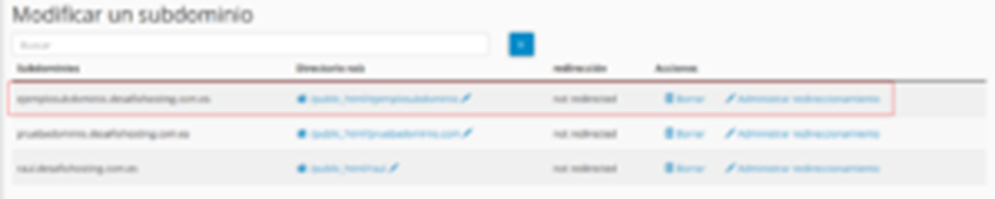
If the whole process has been executed correctly and without any problem, the following confirmation message will appear, then we can return to the previous window.

Finally we can see our new subdomain already added.
HOW TO CREATE A REDIRECTION FROM CPANEL
To add a new domain we must go to the section of "Domains" from our cPanel and select the option "Redirect".

The following window will appear in which we must fill in the blank fields in order to create the redirection.
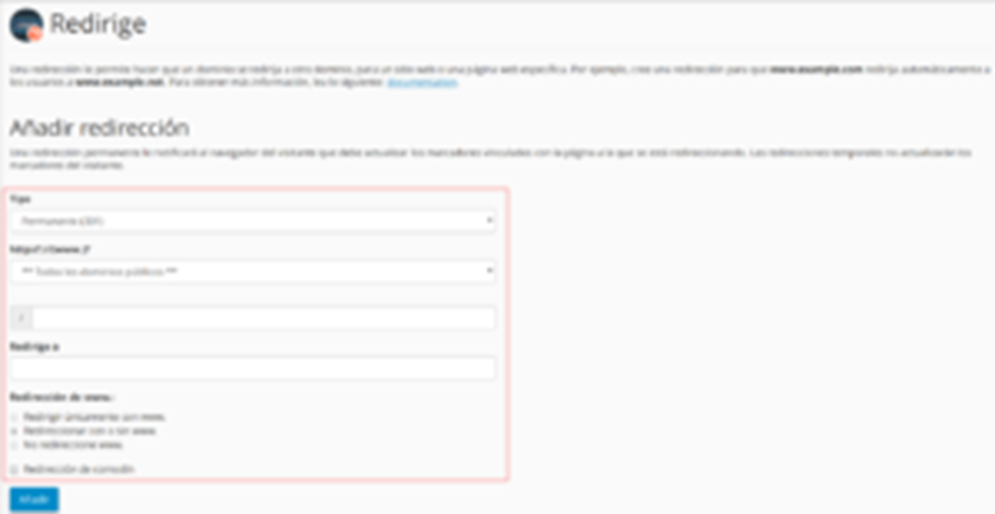
- In the first field we can select the type of redirection, if we want it to be 301 (Permanent) or 302 (Temporary)
- Then we must select the domain from which we want to make the address
- We must choose the folder of the domain before selected that we want to redirect
- The domain to which you want to redirect
- Finally we can decide if we want to do a redirect with www or without it and if we want it to be a wildcard redirect.
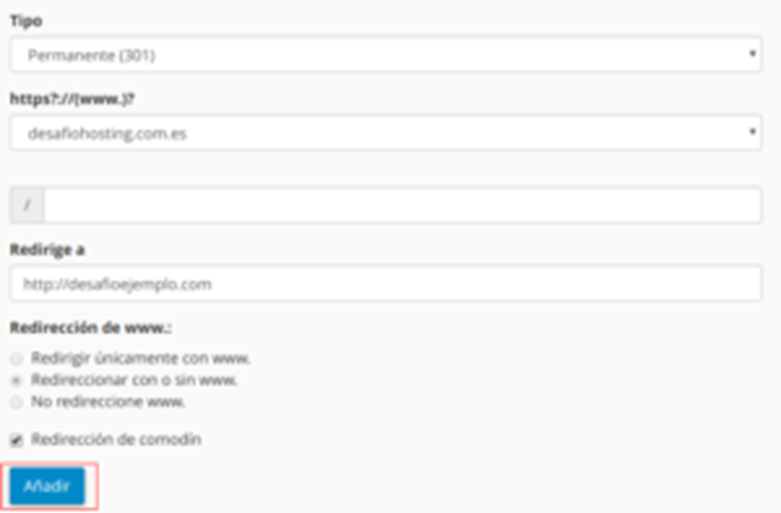
Once these previous steps are completed, we must press the button "Add" to add this new redirect.

We can verify that the redirect has been added in the list of redirects created.

HOW TO CREATE AN ALIAS IN CPANEL
To create an alias that allows us to enter a web page by other names we must go to the section of "Domains" from our cPanel and select the option "Alias".

Inside we will see the following window in which we must fill in the domain field in which we will put the name of the new Alias:
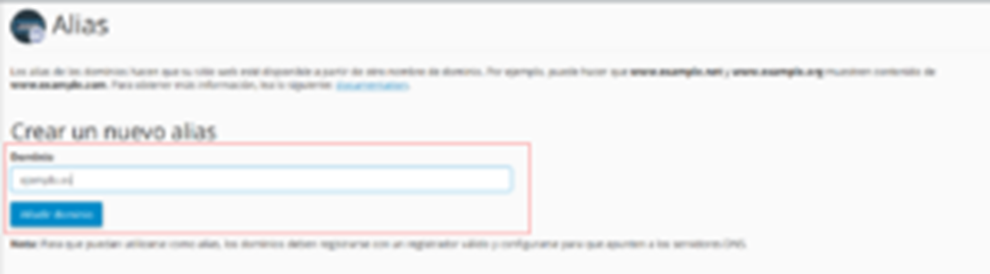
We click on the add domain button and a message should appear confirming that the process has been successful.

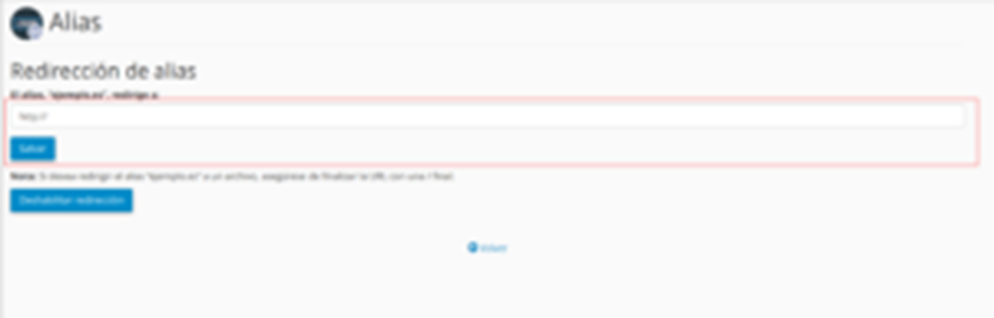
After this we can see the new alias in the list of aliases created and we can modify it in case we want to add a redirect.

HOW TO INSTALL A FREE SSL FROM CPANEL
To install an SSL certificate and thus be able to redirect from http to https, we must perform the following steps.
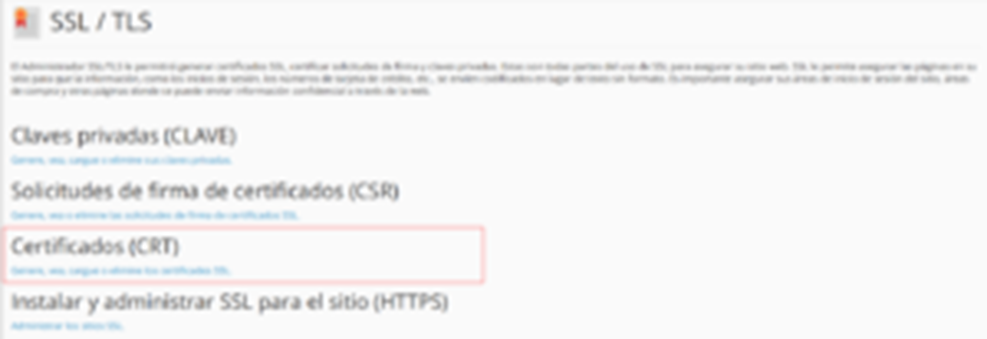
First we must access the section of "Security" from our cPanel and select the option "SSL / TLS".

Once inside, it will send us to the next window and we must select the Certificates (CRT) option.
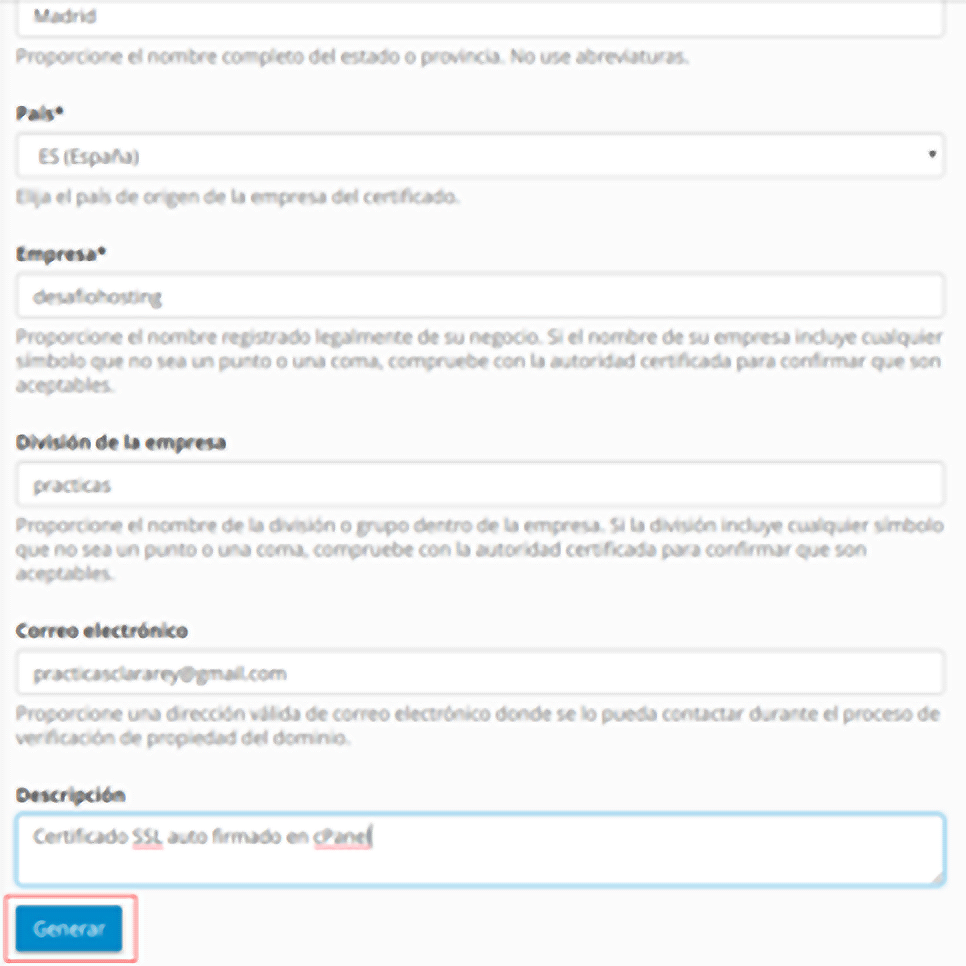
A new window will open and we will have to scroll down the page until we reach the part of "Generate a new certificate"
In this section we must fill in the following fields in order to generate the new certificate:
- Clave: We will leave it in the option that comes by default (Generate a new 2048-bit key)
- Domains: Write the domain (s) in which to generate the key
- City: City you decide, preferably where the company is located
- STATUS: The same case applies as with the City
- Country: It would be the same as in the case of the City and the State
- Company: The name of our company
- Division: Division of said company
- Email: An email at our disposal
- Description: A brief description of the certificate
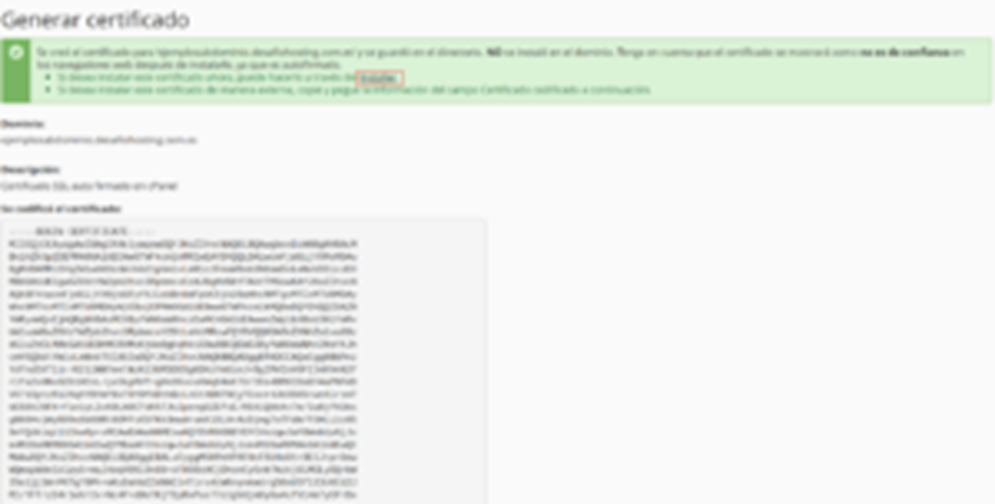
After generating the certificate, the following message will appear and we just have to give the option to install as we marked in the next screenshot.
Another window will open in which we must select our domain, give the auto-fill button to fill in the certificate automatically and finally click install.

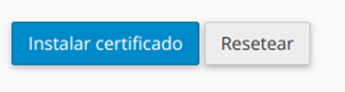
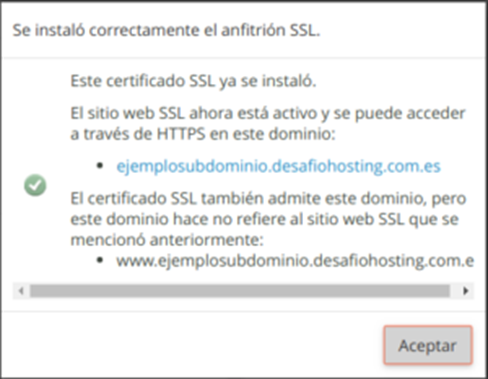
And finally a message will appear confirming the success of the installation.
HOW TO CREATE A MYSQL DATABASE IN CPANEL
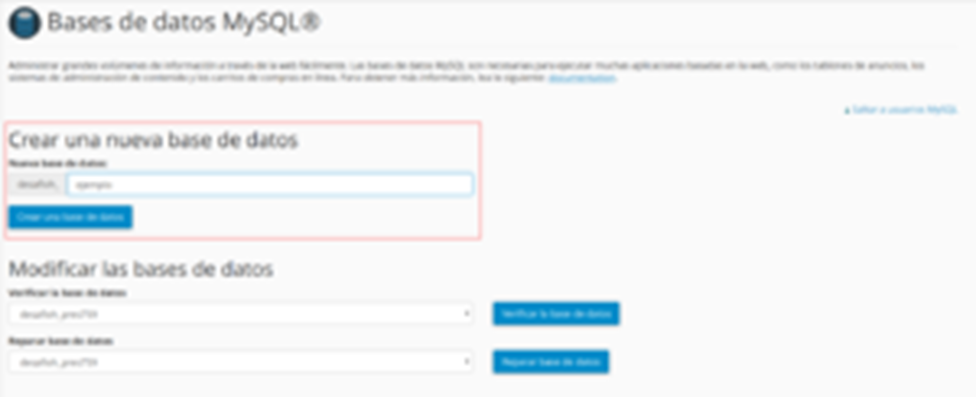
To create a MySQL database that will be very useful on our websites, whatever CMS we use to create it, the first thing we have to do is access the section on "Database" and here we will select the option "MySQL databases".

A window will open where we can create a database, a user and associate the user with the database.
The first thing we will have to do is create a database. To do this, in the first field called new database, we will write the name of the database we want.
Later we must create a user.

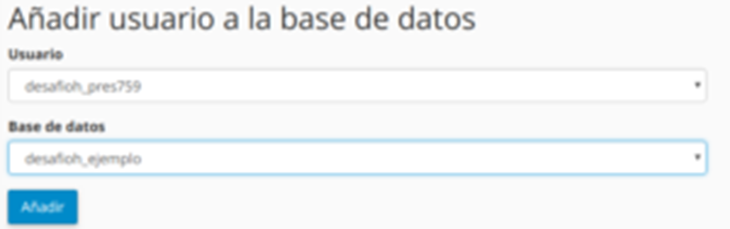
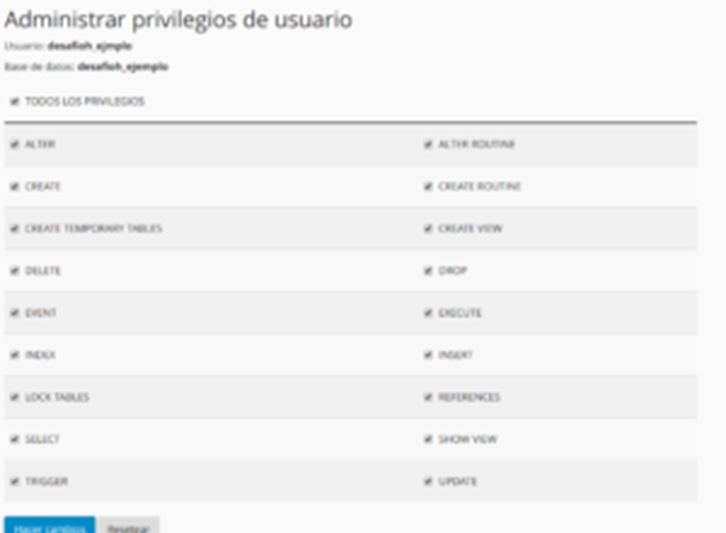
As soon as we have created a user and a MySQL database, we start to link said user with the database and give it the privileges we want.
HOW TO USE PHPMYADMIN IN CPANEL
The first thing we must do is access the PHPMyAdmin section for this we will enter the section of "Database" and within this he "PHPMyAdmin".

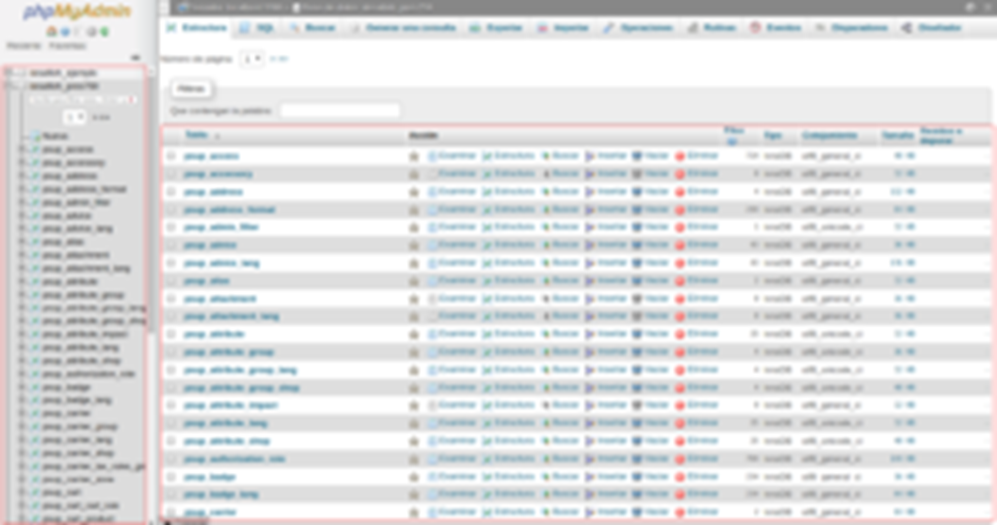
When we access PHPMyAdmin, a main window will open in which we can see the databases created previously.
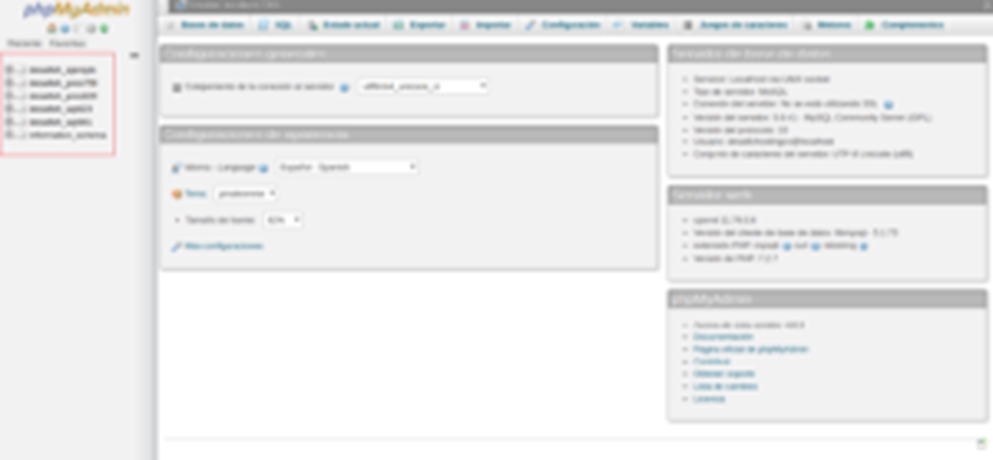
At this time we can access each database and we can edit or modify it depending on what we need.
HOW TO CREATE OR EDIT A DNS RECORD IN CPANEL
The first thing we must do is access the section of the creator and editor of DNS zone, for this we will enter the section of "Domains" and within this he "Zone Editor".

A window will open where we can see each domain that is created and we can create a DNS zone for each of these domains "A Record", "CNAME Record" o "MX Record".
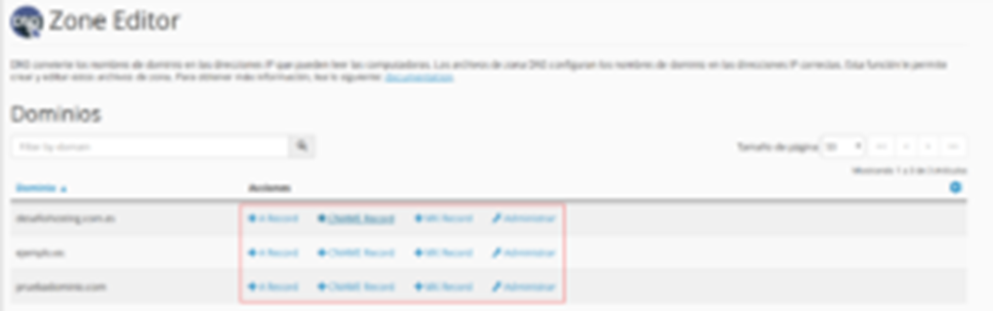
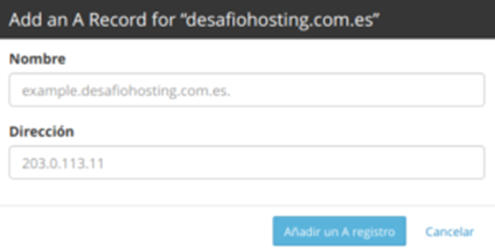
Depending on which one we select, we will be shown several fields to fill in to create said DNS Zone.
HOW TO CONFIGURE CRON TASKS IN CPANEL
A CRON task is a scheduled task in our cPanel which will execute a command every so often that we have previously established.
The first thing we must do is access the CRON task configuration, for this we must go to the section of «Advanced» and here we will select the option "CRON jobs"

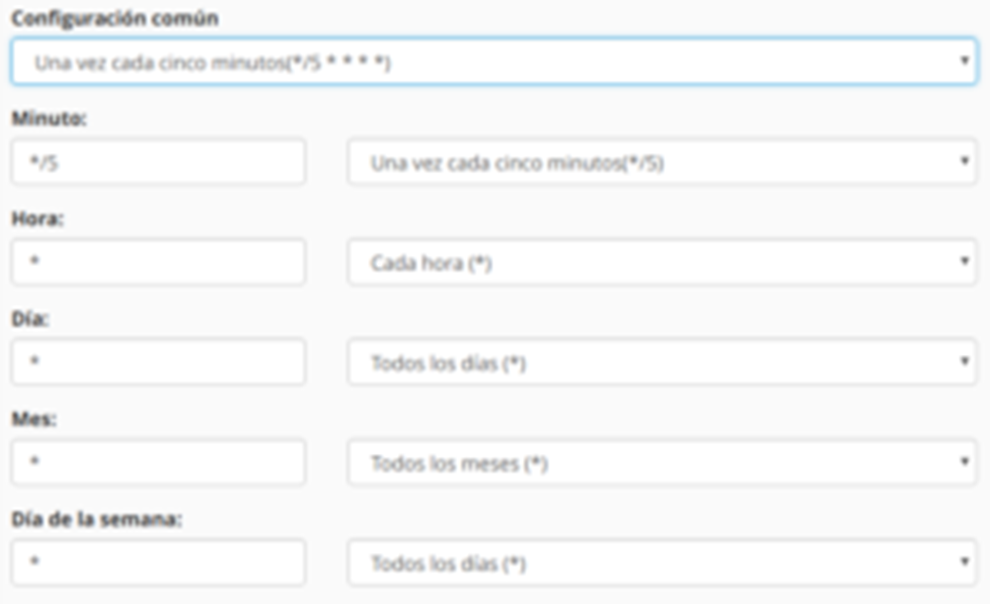
When we enter we can see a section called "Common configuration", here we can insert the execution time of the command and the command in question.
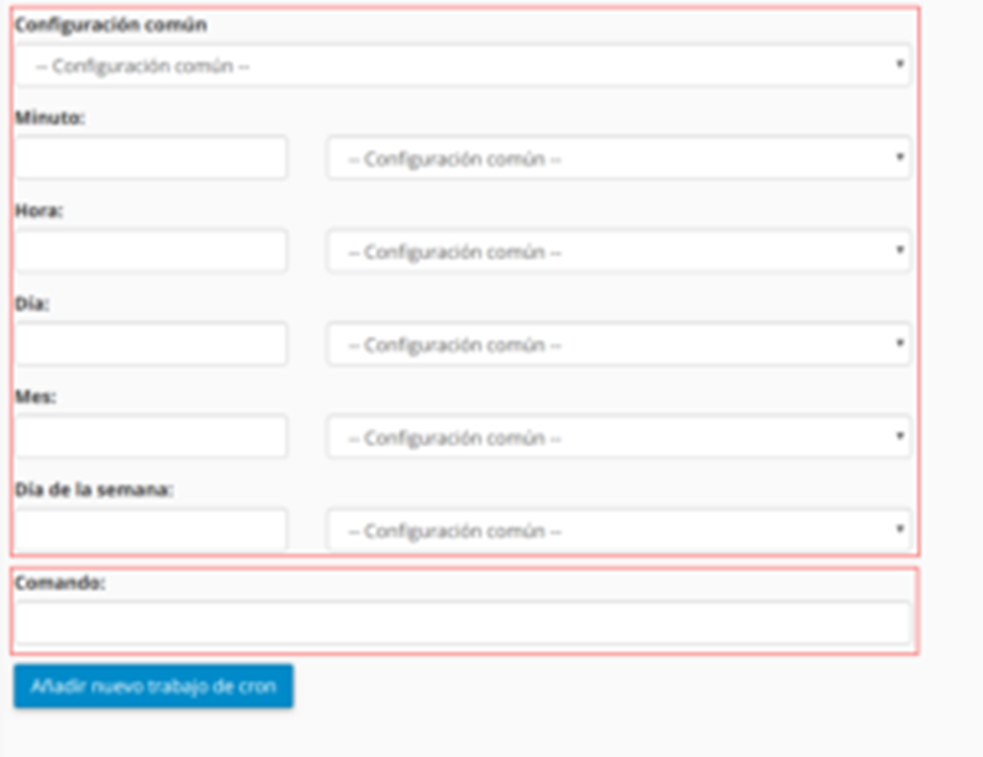
In the first fields we can fill in the data of minutes, hours, days, month and day of the week, likewise cPanel brings us certain options by default to facilitate the process, in our case for this guide as an example we have used the option of the 5 minutes.
Next, we must enter the command that we are going to execute in this period of time for this CRON scheduled task.
For this guide we will use the following command as an example:
wget -q -O / dev / null -t 1 "http://uneexample.es/wp-cron.php?doing_wp_cron"> / dev / null 2> & 1
And finally we will give you the option to add a new cron job to add the new task.

In this way we can see the new cron job already created.

FILE MANAGER IN CPANEL
The file manager is nothing more than as its name indicates a file explorer or navigator very similar to the one that a graphical environment OS such as Windows or Ubuntu may have but with the difference that it is a little more limited as it is a file manager. cPanel web files.
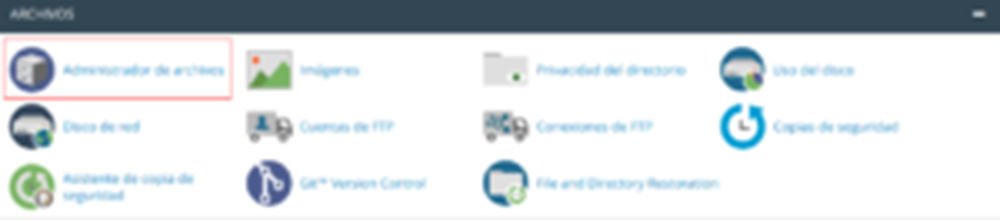
The first thing we must do is access said file manager for this we must go to the section of "Files" and we enter the option of "File manager".
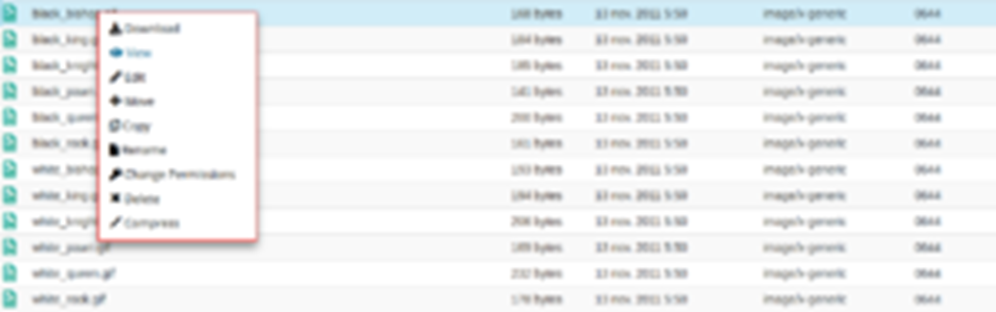
Once we enter this option we can work with the file manager, in the first window we can see an organization in which on the left is a list of all the folders with which we can know how many folders we have and access them from quick way. On the right we see the content of each folder in much more detail.
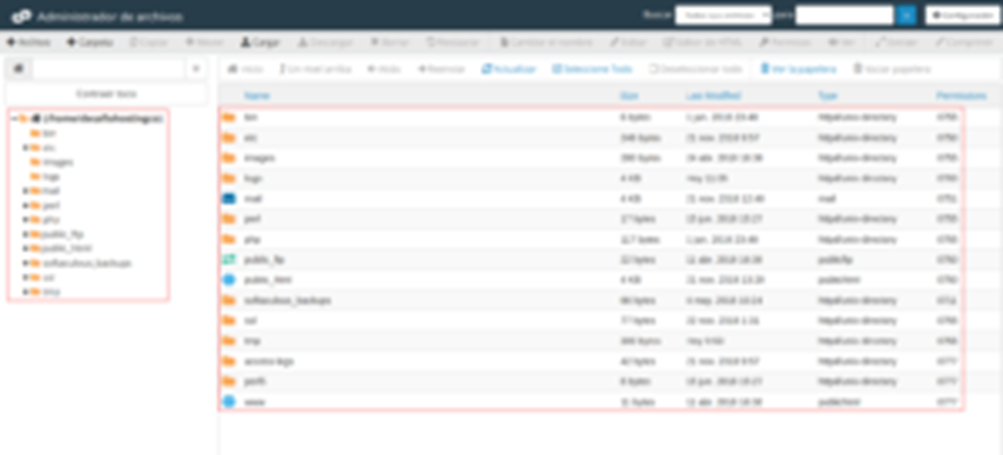
From the right panel we can move, copy, download, etc. the files we have.
HOW TO CHECK THE STORAGE USED IN CPANEL
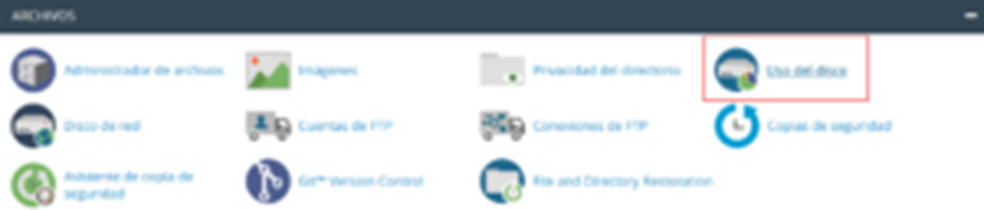
The first thing we must do to check the storage that has been used in our cPanel is to move to the section of "Files" and here we select the option of "Disk Usage".
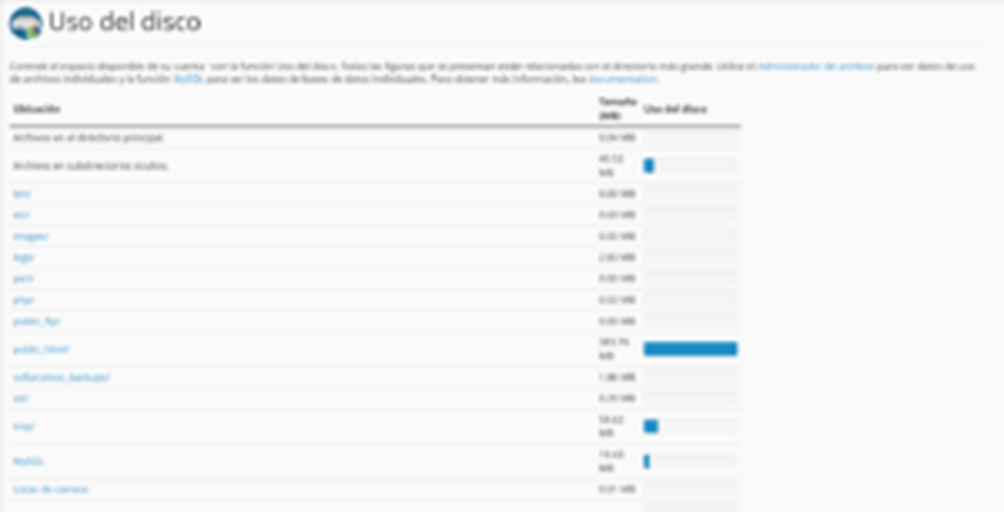
We can see the occupied space in two ways, the first one would be in a somewhat more graphic way for each folder.
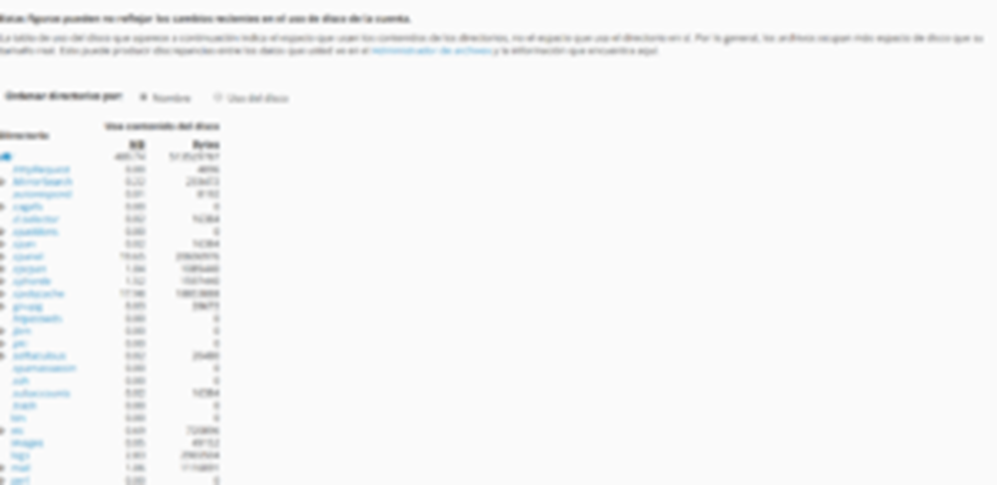
Or a more tree form, where we can see directories and content.
HOW TO CREATE A DIRECTORY WITH PASSWORD IN CPANEL
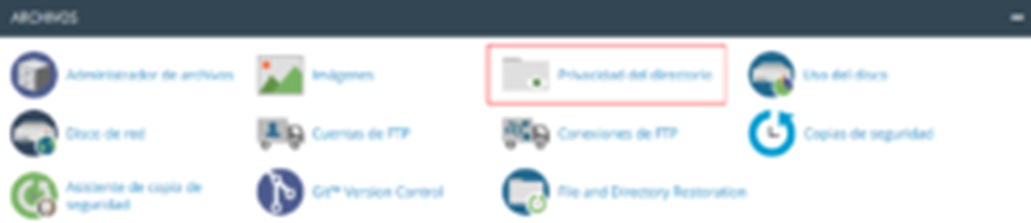
First we must scroll to the section of "Files" cPanel and select the option Directory privacy
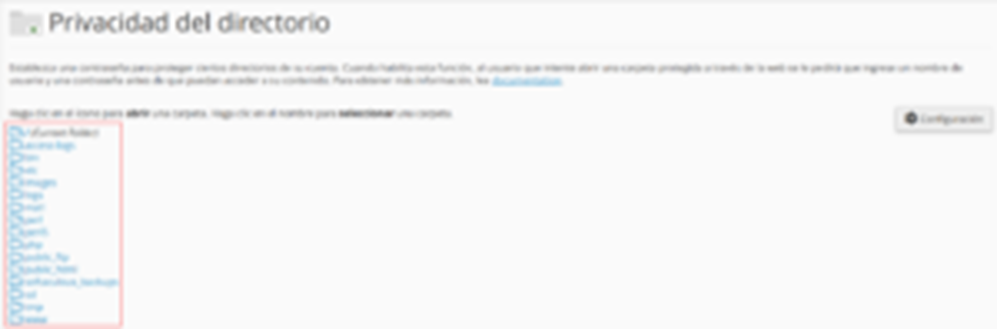
The first thing we will see will be a list of folders which we can select in order to establish permissions.
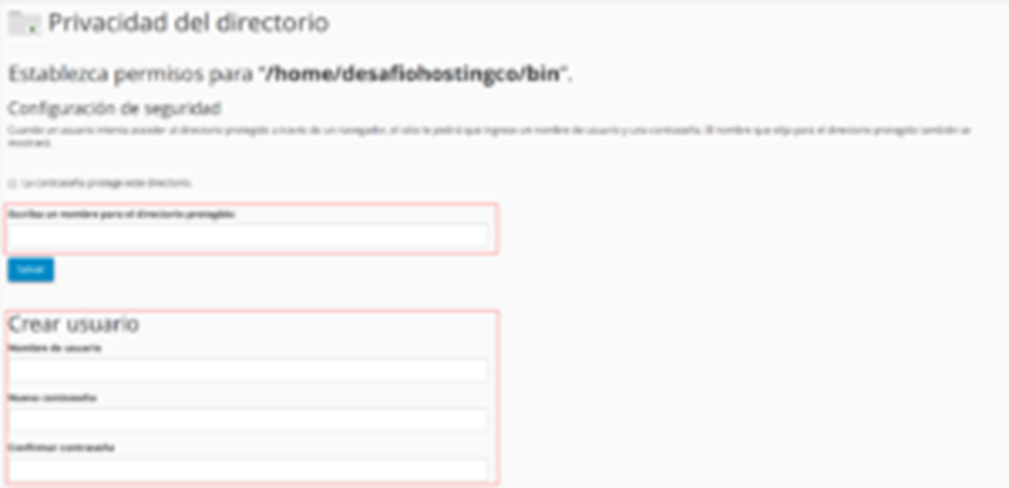
As soon as we select one, the following window will open in which we can write a name for the protected directory and we can also create a username and password for our protected folder.
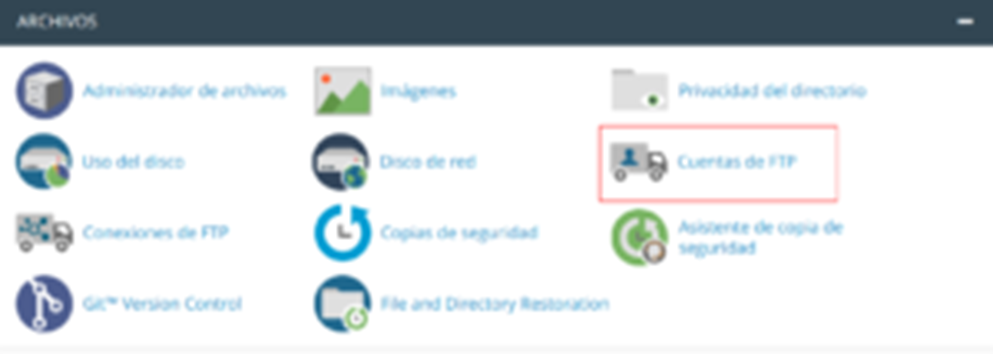
HOW TO CREATE AN FTP ACCOUNT IN CPANEL
To create an FTP account we must first scroll to the section of "Files" cPanel and select the option "FTP accounts".
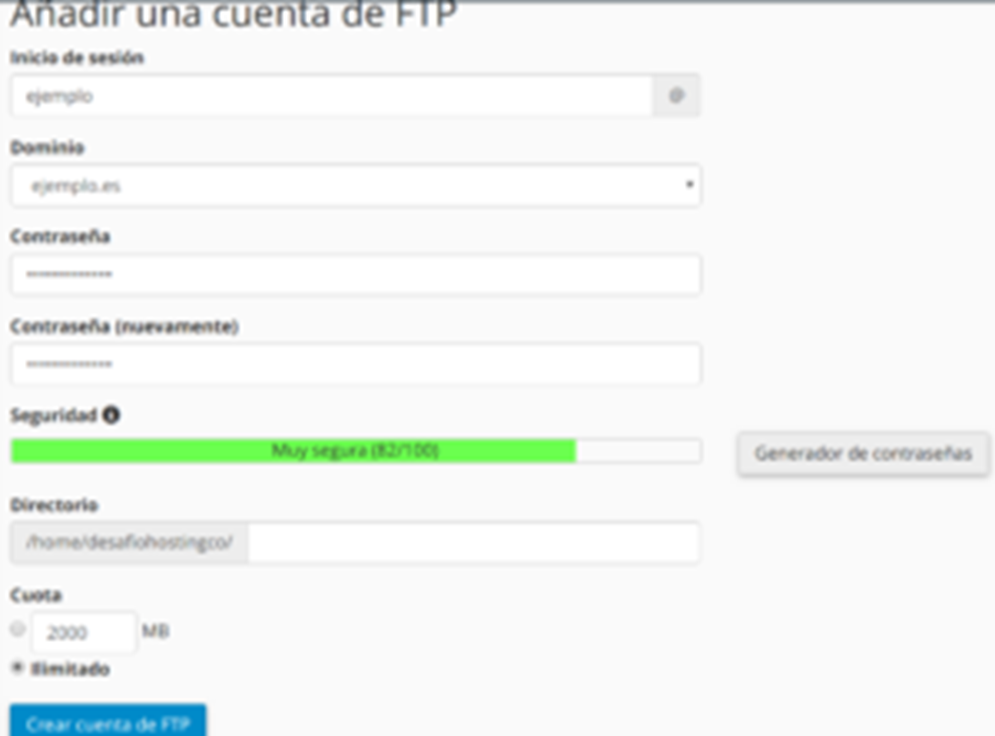
A page will be opened divided into three sections, one will be the creation of an FTP account, the second will be the created FTP accounts and finally an accounts that are created by default called special accounts.
In the section where we are allowed to add an FTP account, we must enter the login name that we will use for this account, accompanied by the domain to which it will belong, the password it will carry, the directory where it will be located and its quota , which in our case will be unlimited.
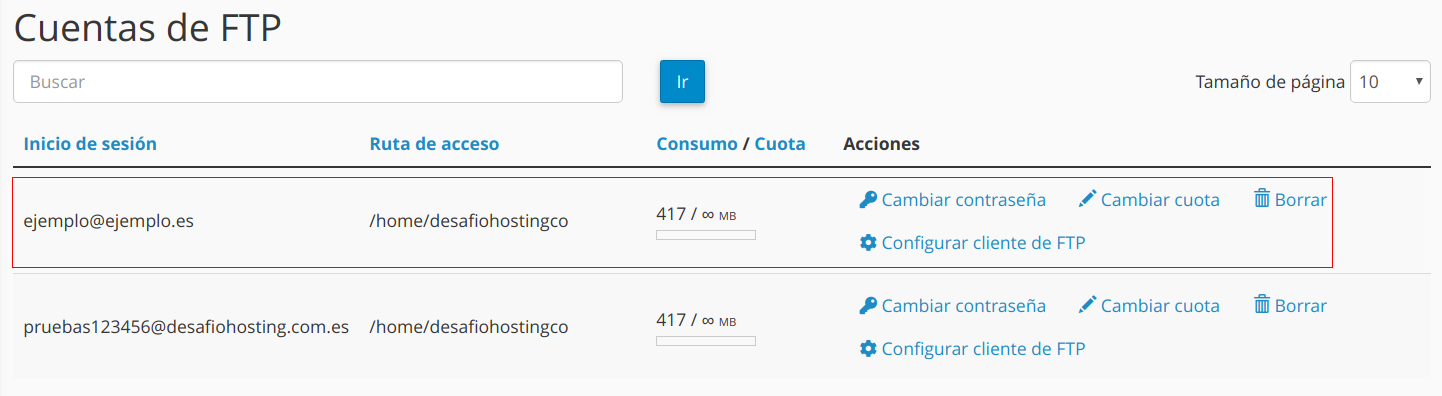
We give the button to create FTP account, a message will appear that our account has been created correctly and we can now see our account in the list of created FTP accounts.
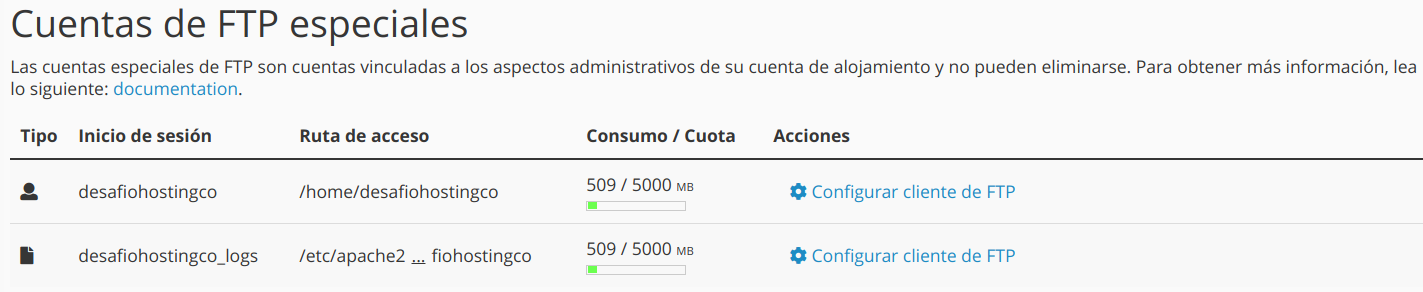
And finally if we reach the end of this window we can see the accounts that are created by default called "Special FTP accounts"
SECURITY COPIES IN CPANEL WITH JETBACKUP
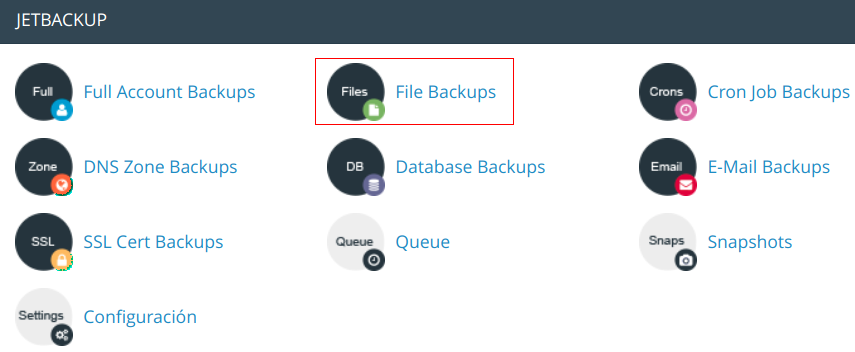
The first thing we should do is go to the JetBackup section (for this we must have the JetBackup module installed) and we can see all the Backup options that cPanel offers us.
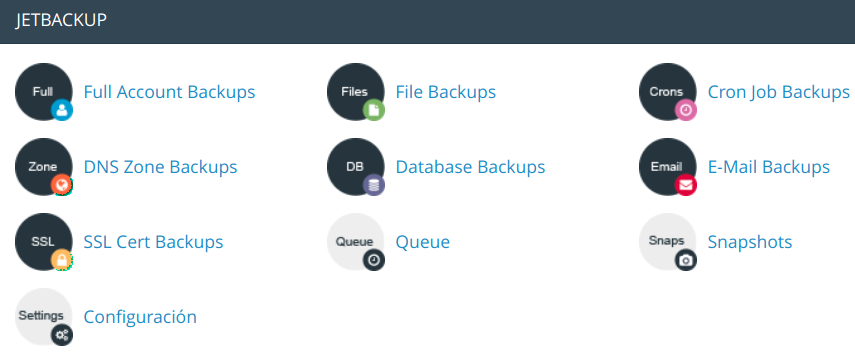
Depending on the type of Backup with which we want, we must select one of all the options offered by JetBackup and in all cases the process is similar.
In our case we select the option Full Account Backups and the following window opens in which we will see a list of the latest Backups ordered by most and least recent date.
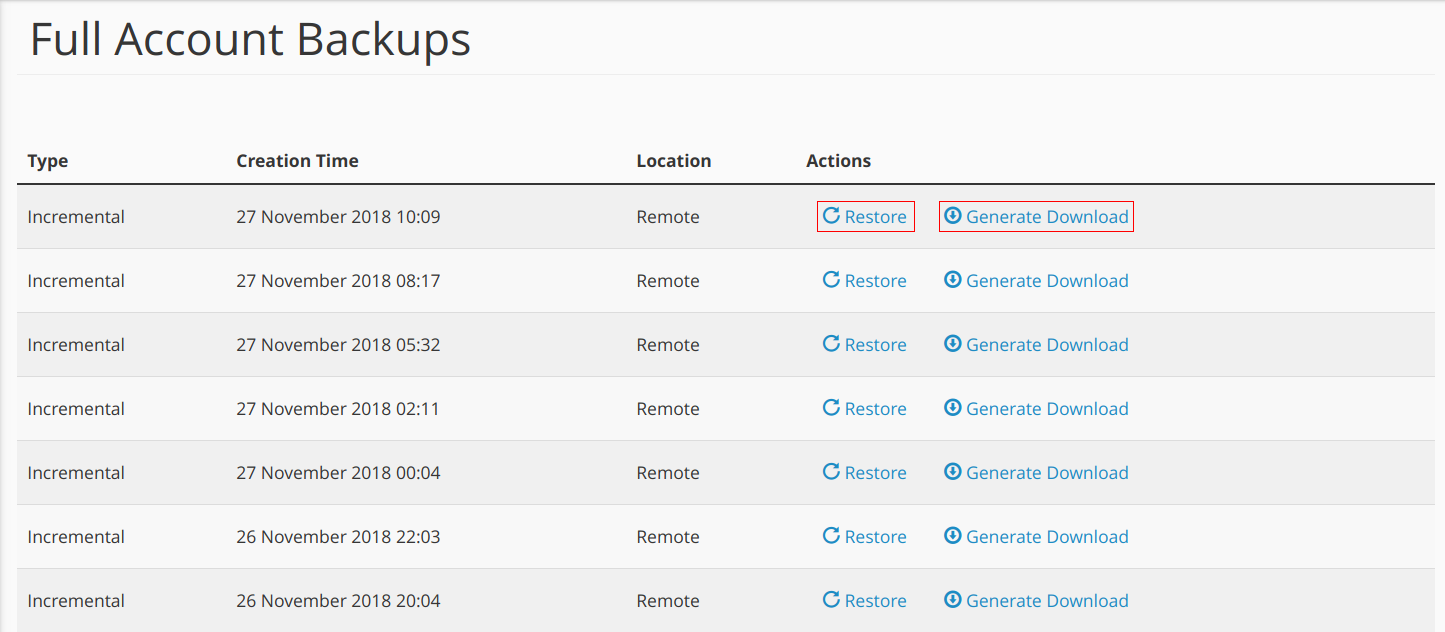
For all Backups we can either restore them or generate a download.
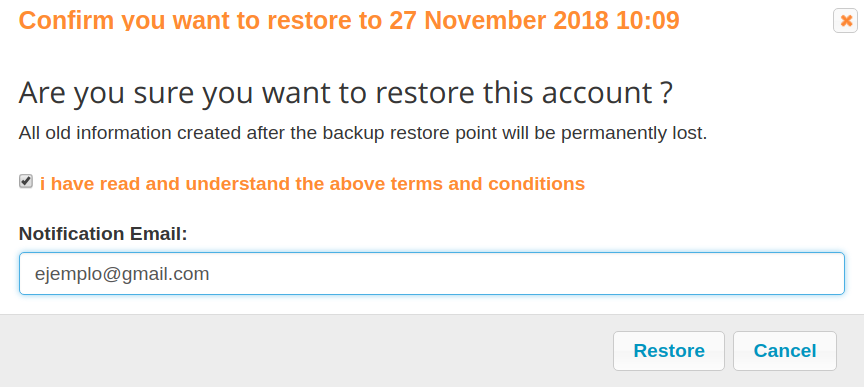
In the event that we select the restoration option, an alert window will open where we must accept the terms and conditions and we must write an email address to which they will send us a notice at the time the restoration is finished.
With the option of "Generate download" We can ask that the option to download said backup be generated, which after a waiting time (this time varies depending on the size of the backup) will allow us to download without problems.


In the case of the option "File backups" The process would be slightly different since this option allows us to view each folder and each file of the backups and thus be able to make a more precise selection of what we want to recover or download.
Once we select this option, a window will open in which we must select a Backup from the list ordered by creation date from most recent to least recent.
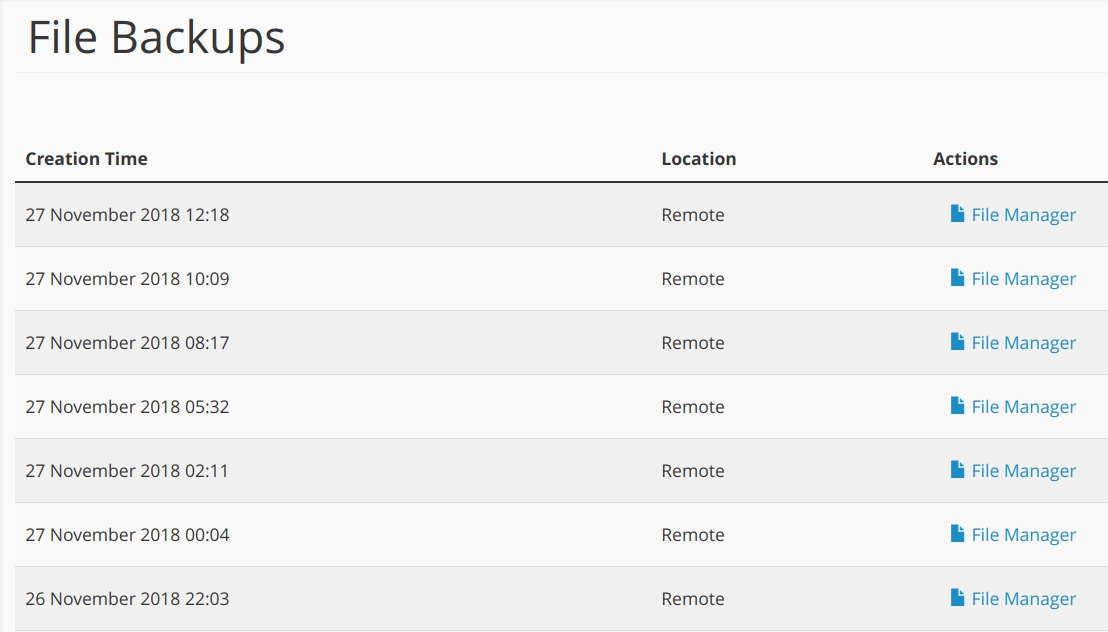
We select the link of "File Manager" of the backup that we want and we can now view and select the folders for said backup.
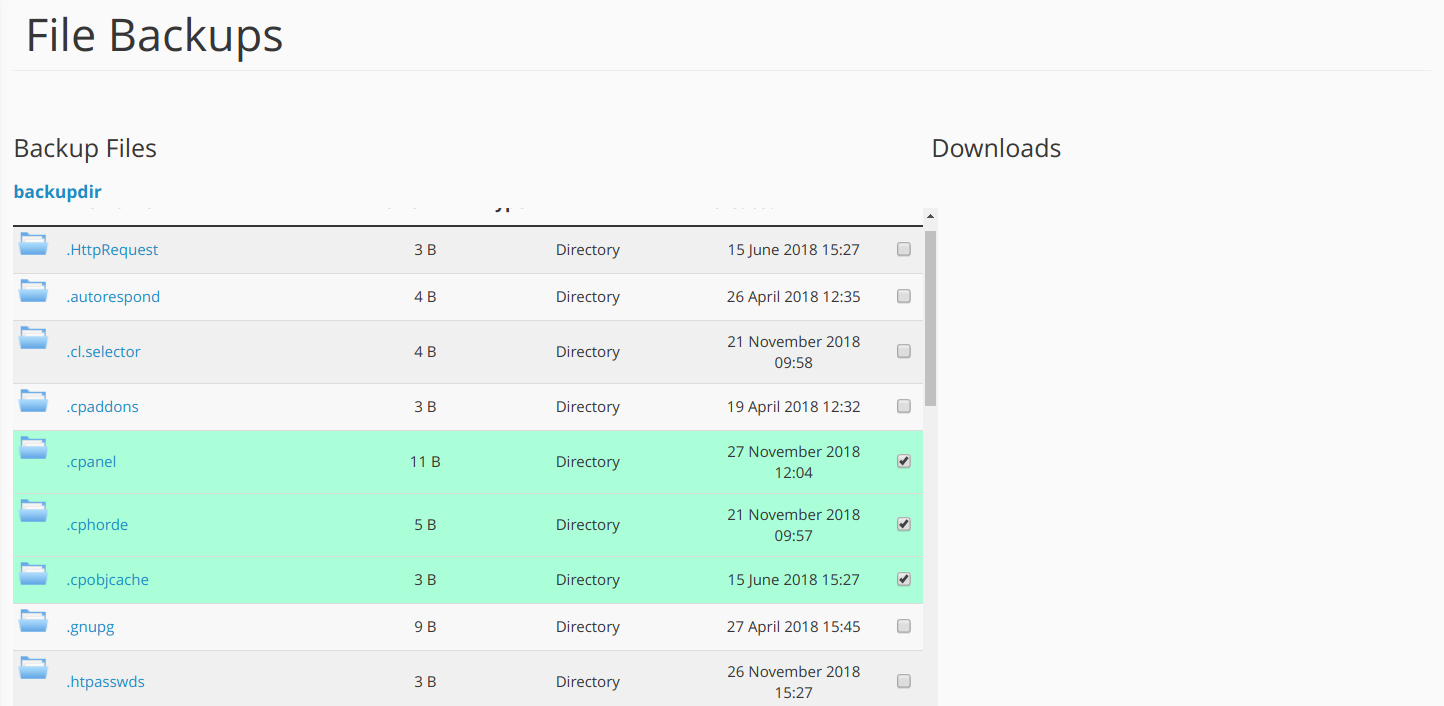
Once these folders are selected, we can choose what to do with it, whether to recover it, download it or remove the selection.

HOW TO CREATE AN EMAIL ACCOUNT IN CPANEL
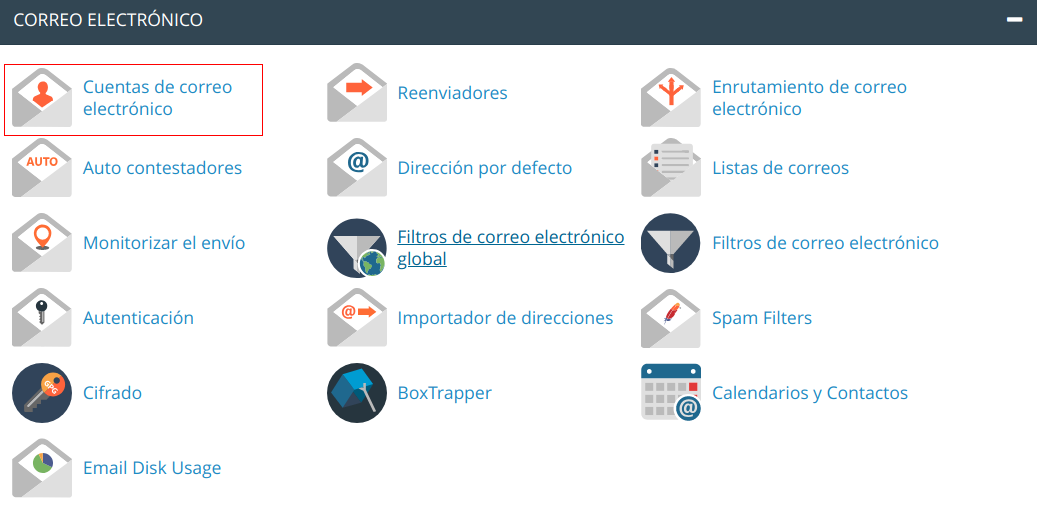
First we must scroll to the section of "Email" and we must select the option "E-mail accounts"
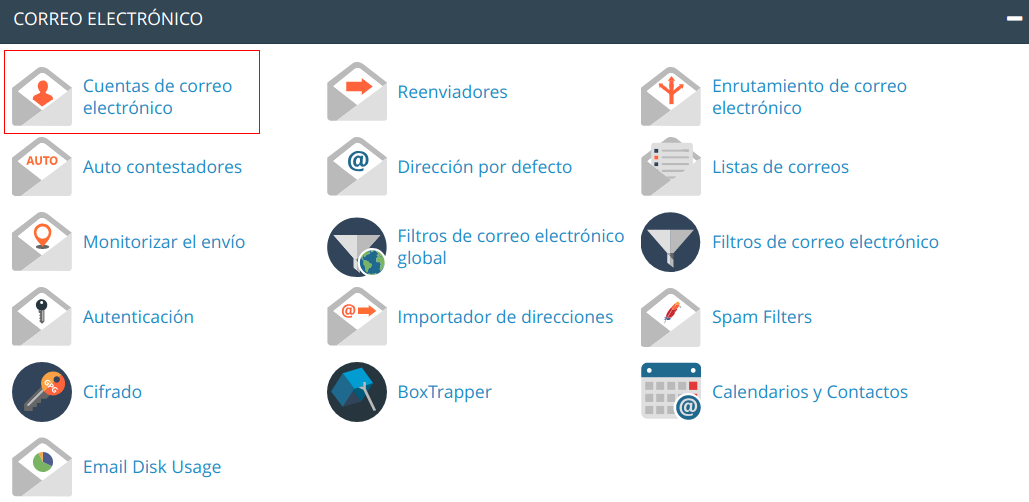
Upon entering, a window will open and we must select the option «Add email account».
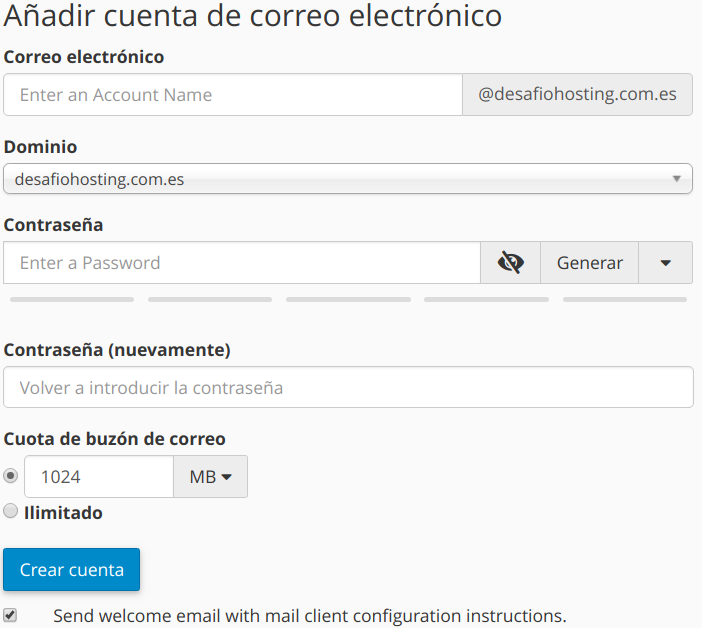
We fill in the fields, select the domain or subdomain to which we want it to belong and give it to "Create Account".
HOW TO CONFIGURE AUTORESPONDERS IN CPANEL
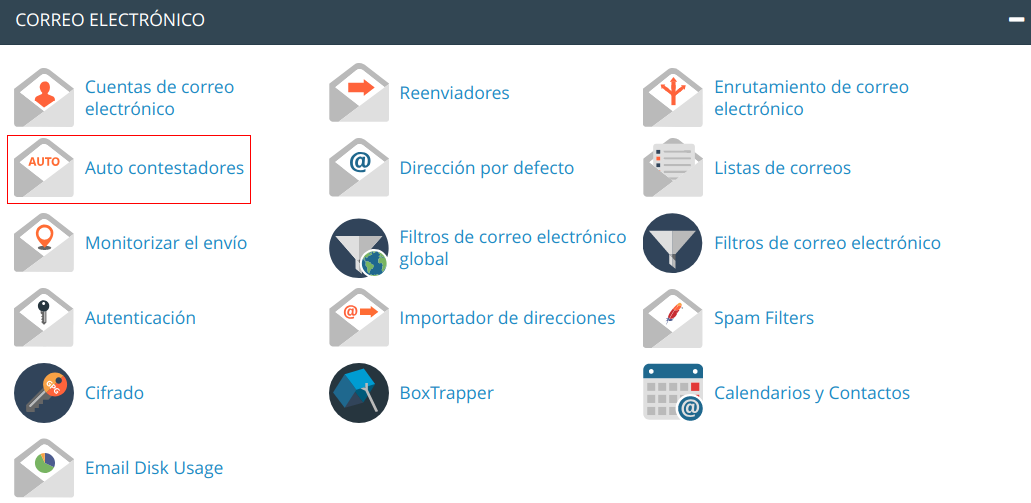
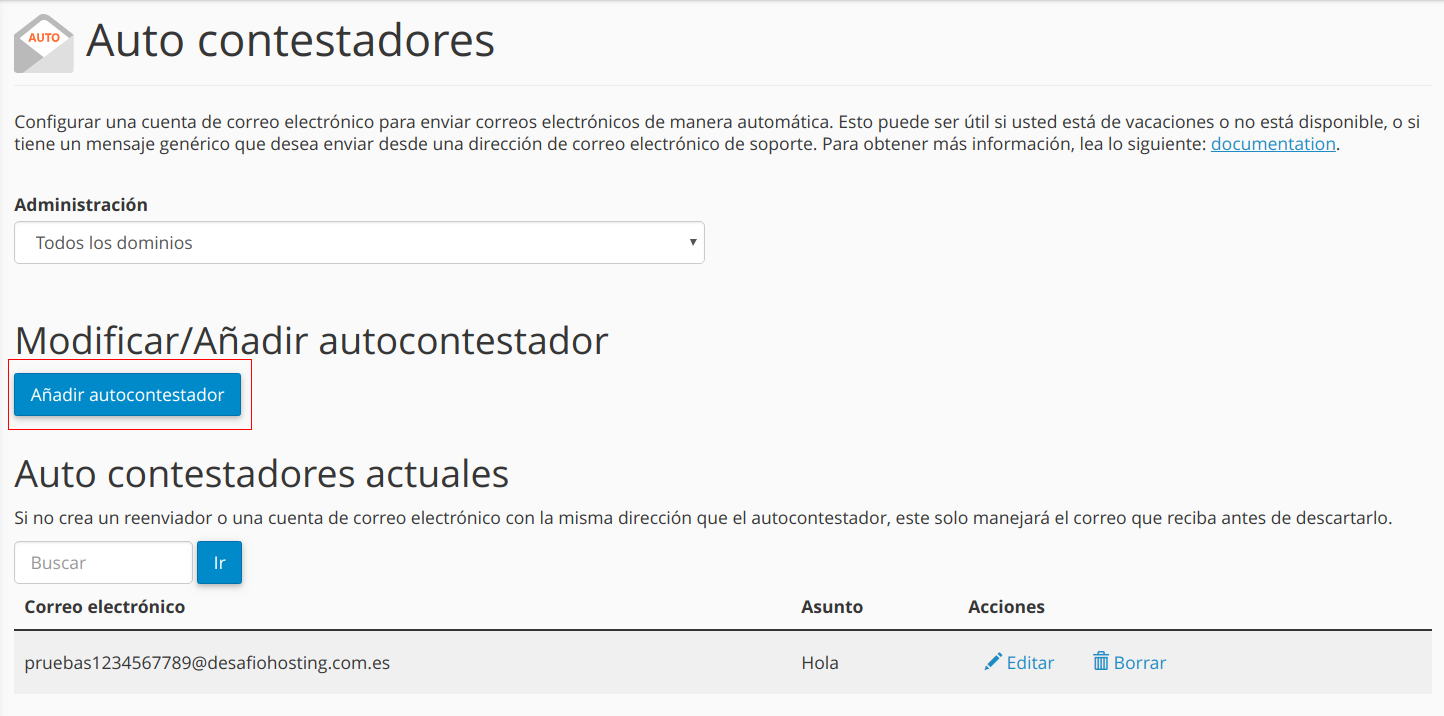
The auto-responder in cPanel is a very basic system with which we can indicate that a certain email address automatically answers all the emails that arrive. The first thing we have to do is scroll to the section of "Email" and we must select the option «Answering machine».
We will be able to see the list of auto-responders already created in case one is created but we will give the button «Add auto responder».
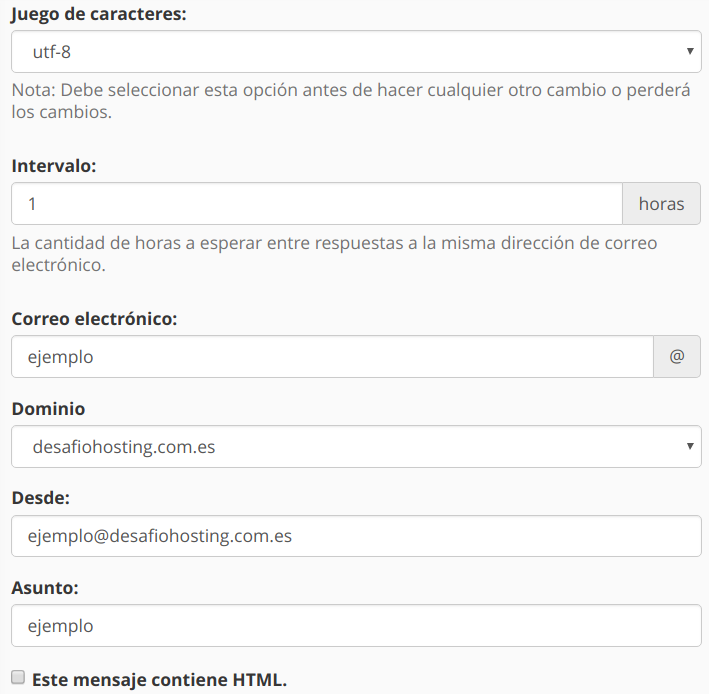
Then we must fill in the following fields necessary to create the auto-responder:
- Set of characters: In our case we will leave it as it appears by default.
- Interval: The time (hours) between response and response to the same email address.
- Email: The name of the email that will be in charge of responding automatically with this auto responder to all the emails that arrive.
- Domain: The name of the domain this email belongs to.
- From: The email address that will appear in our responses.
- Subject: The subject that will carry the answer.
- The Body: Content of the reply mail.
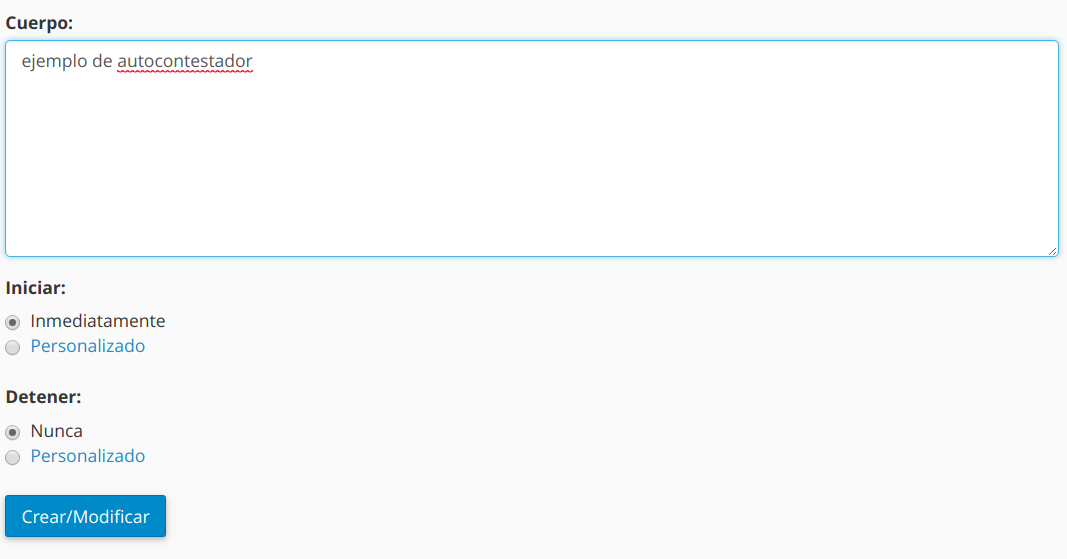
It would only be left to mark the option «Create / Modify»
HOW TO CONFIGURE FORWARDERS IN CPANEL
The first thing we have to do is scroll to the section of "Email" and we must select the option "Forwarders".
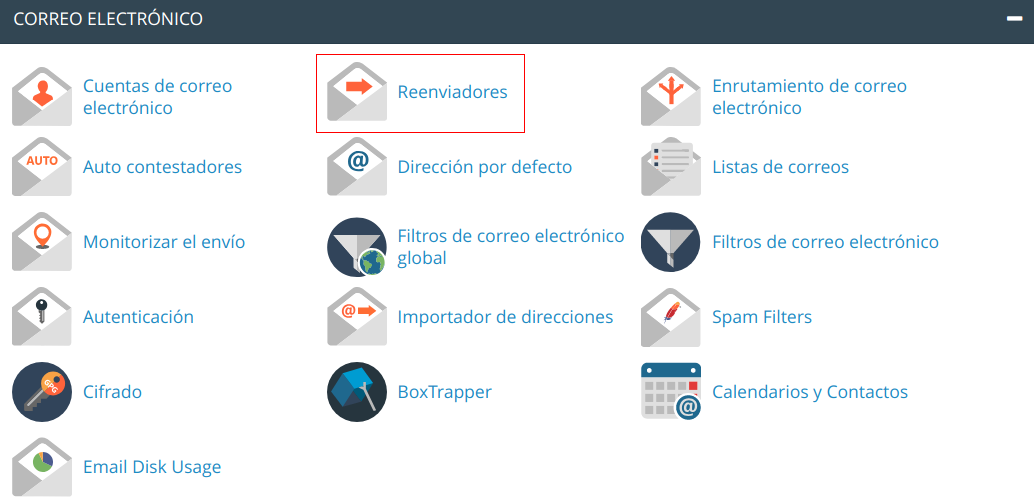
When opening this option we can see the list of forwarders created and the two times of forwarders that we can create "Add forwarder" o "Add domain forwarder", also previously allows us to choose which domain to add the forwarder to or whether to add it to all domains.
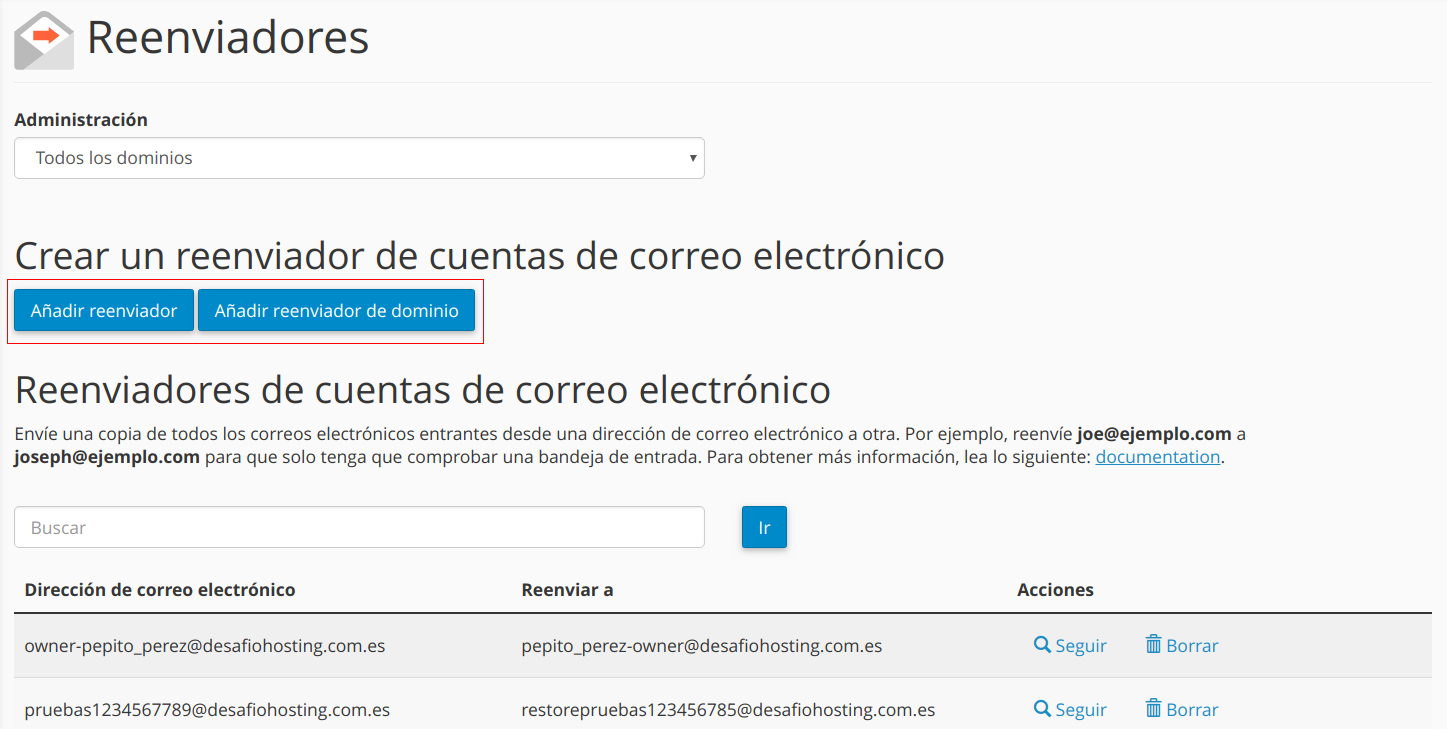
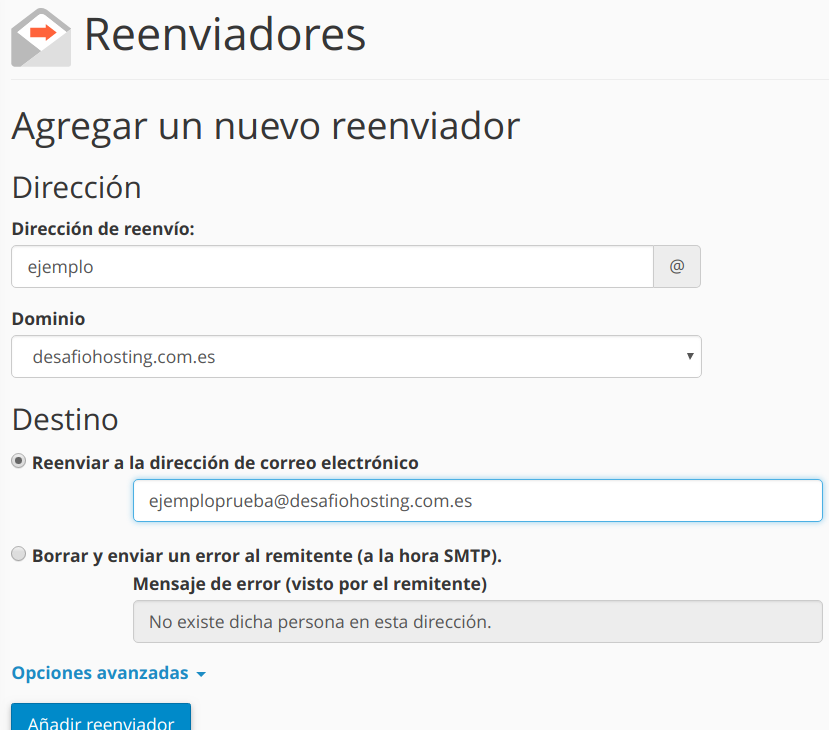
En add forwarder We can have everything forwarded from one email to another that we specify.
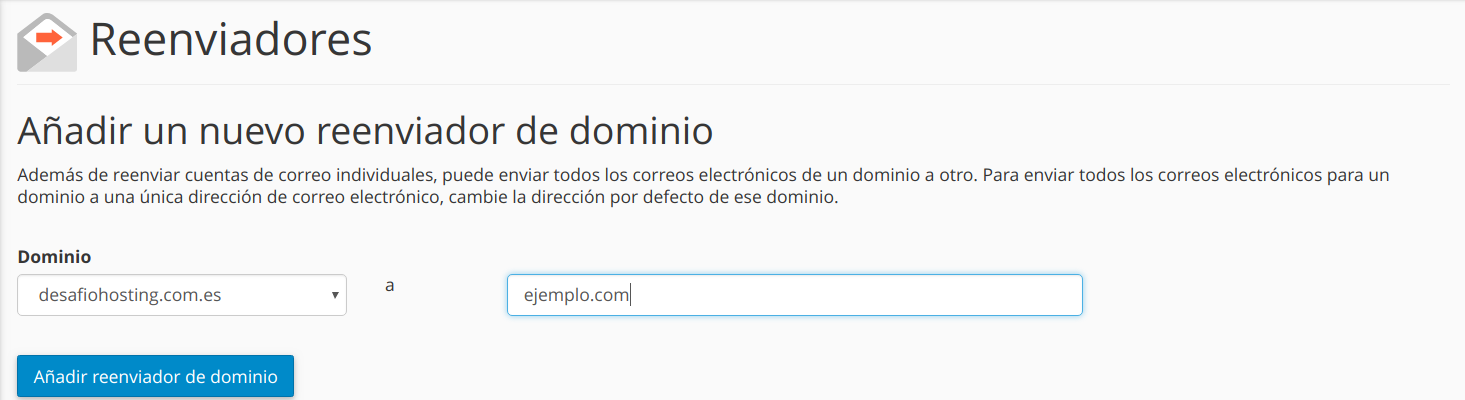
En add domain forwarder The objective is similar to that of the previous option, except that in this case we can forward all emails from one domain to another.
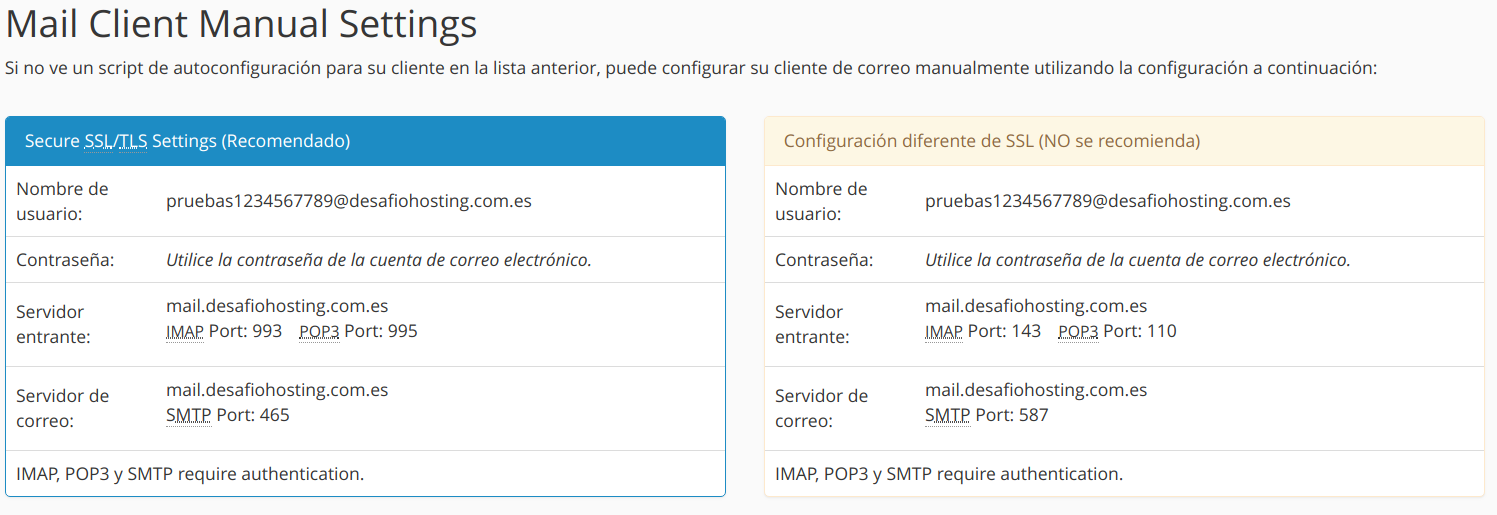
DATA TO CONFIGURE AN EMAIL CLIENT IN CPANEL
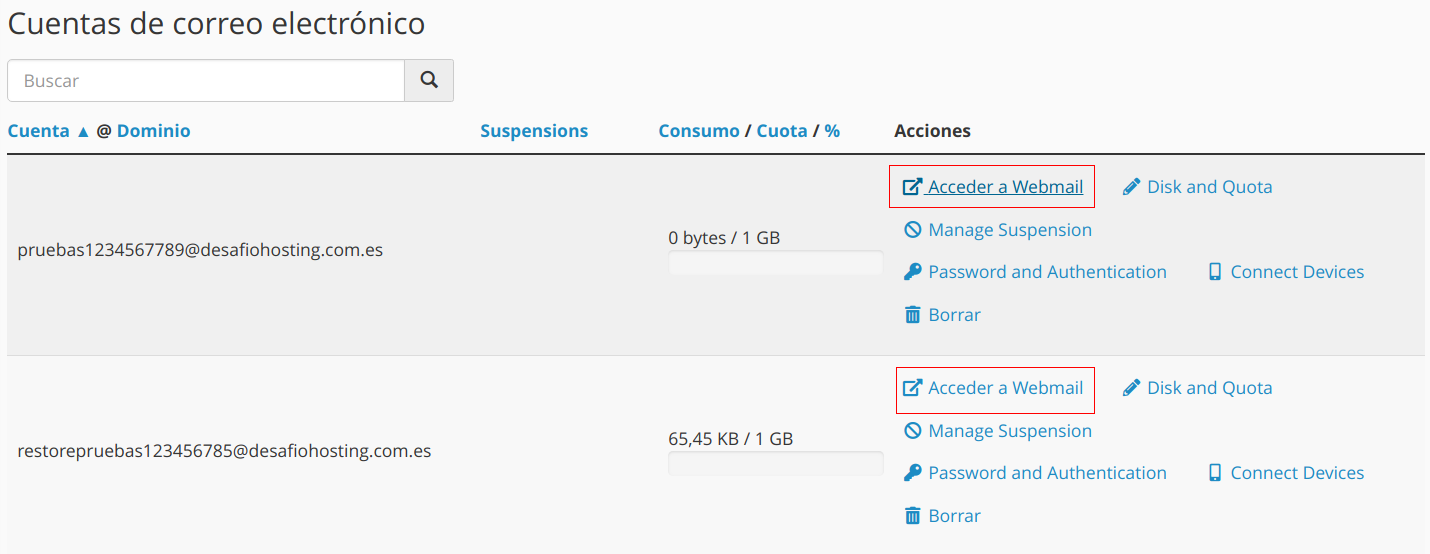
To find the necessary data to configure an email client in cPanel, the first thing we will have to do is scroll to the section on "Email" and we must select the option "E-mail accounts".
When we enter we will see the list of emails created and we will have to select the option «Access webmail» to be able to see the data.
MONITORING OF POST DELIVERY IN CPANEL
With the option to track delivery of emails in cPanel we can see if an email sent from a cPanel server email account has reached its destination.
To do this, the first thing we should do is scroll to the section on "Email" and we must select the option "Monitor shipment".
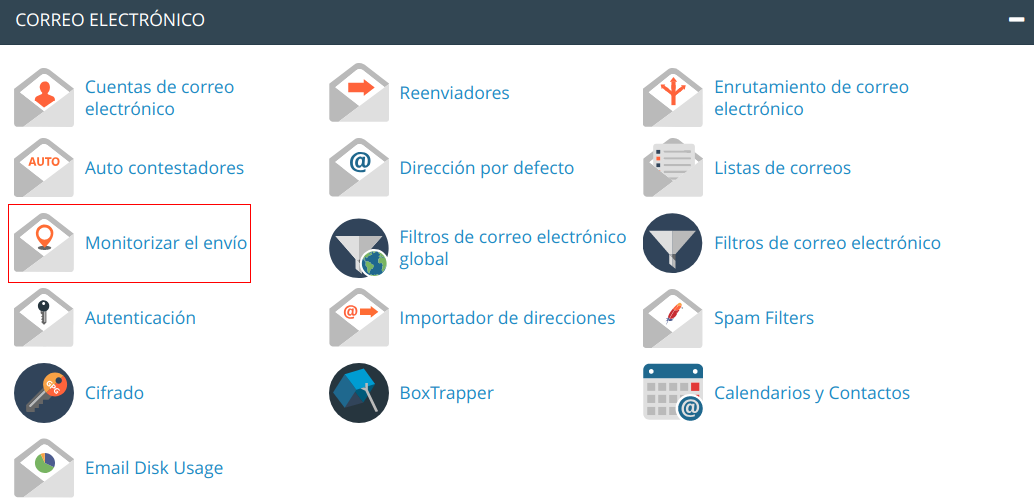
Once inside we can see the list of emails sent and the result

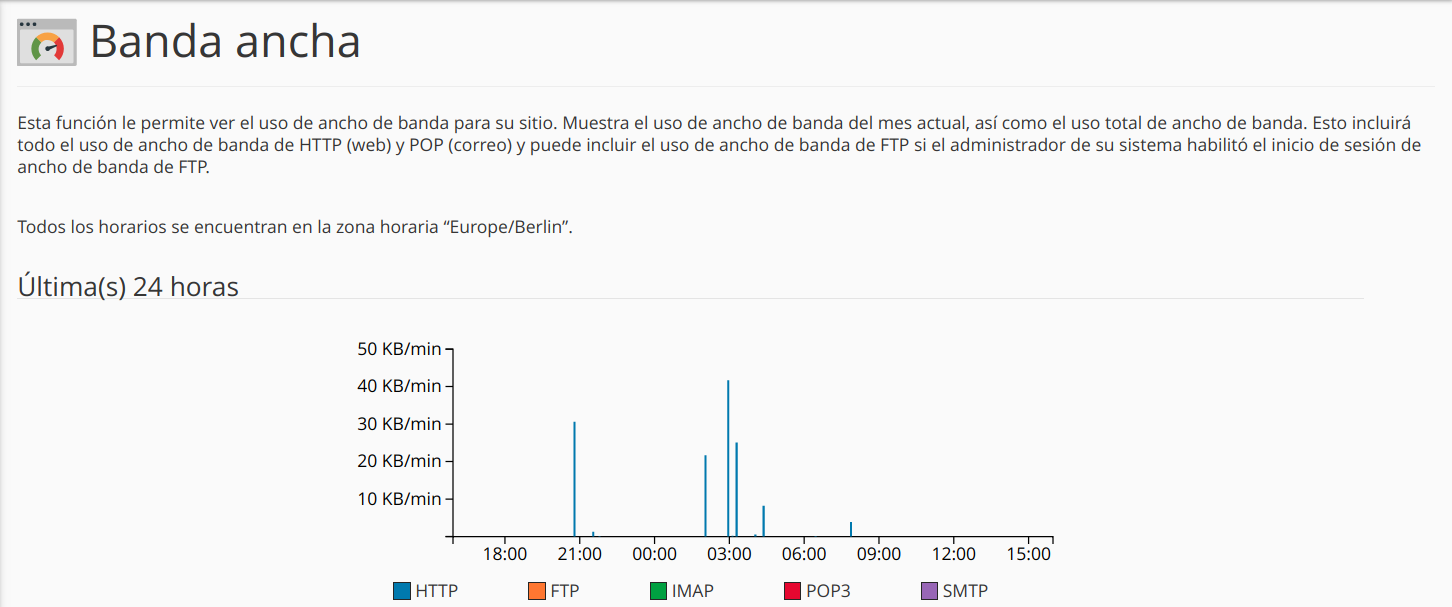
HOW TO CHECK THE BAND WIDTH USED IN CPANEL
We must closely monitor the bandwidth we have used from our cPanel. Therefore, a very useful tool for this task is to "Broadband" located in the section of "Metrics"
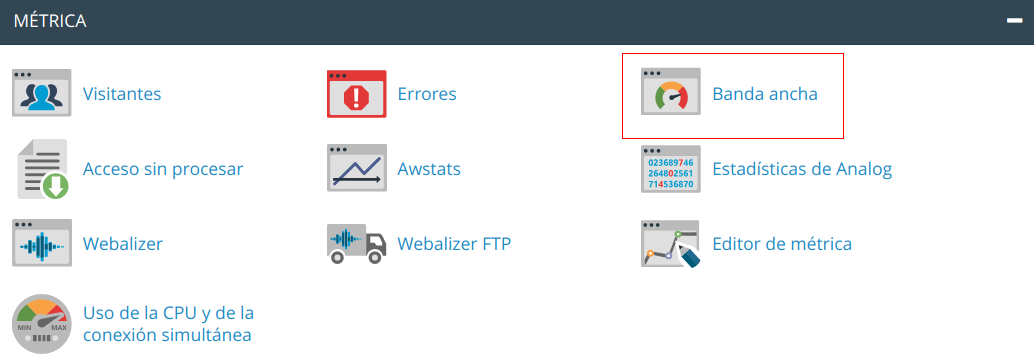
And here we can see the statistics of the bandwidth consumed in the last days.
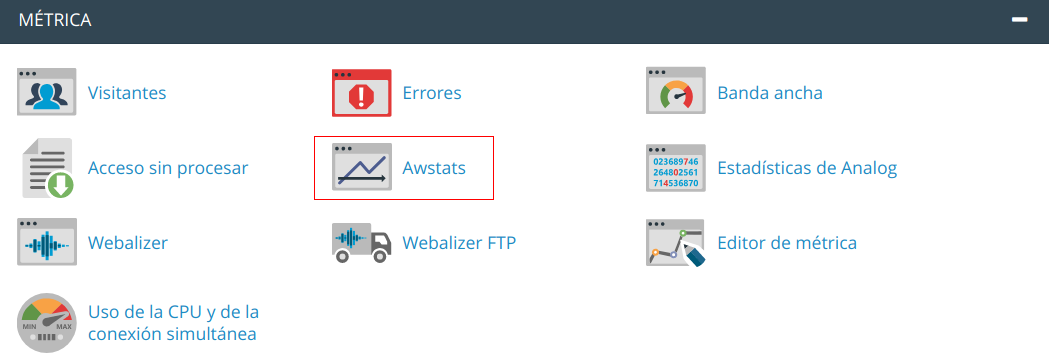
HOW TO REVIEW AWSTATS STATISTICS IN CPANEL
To access the AWStats log analyzer, the first thing we have to do is scroll to the section on "Metrics" and enter the option "AWStats"
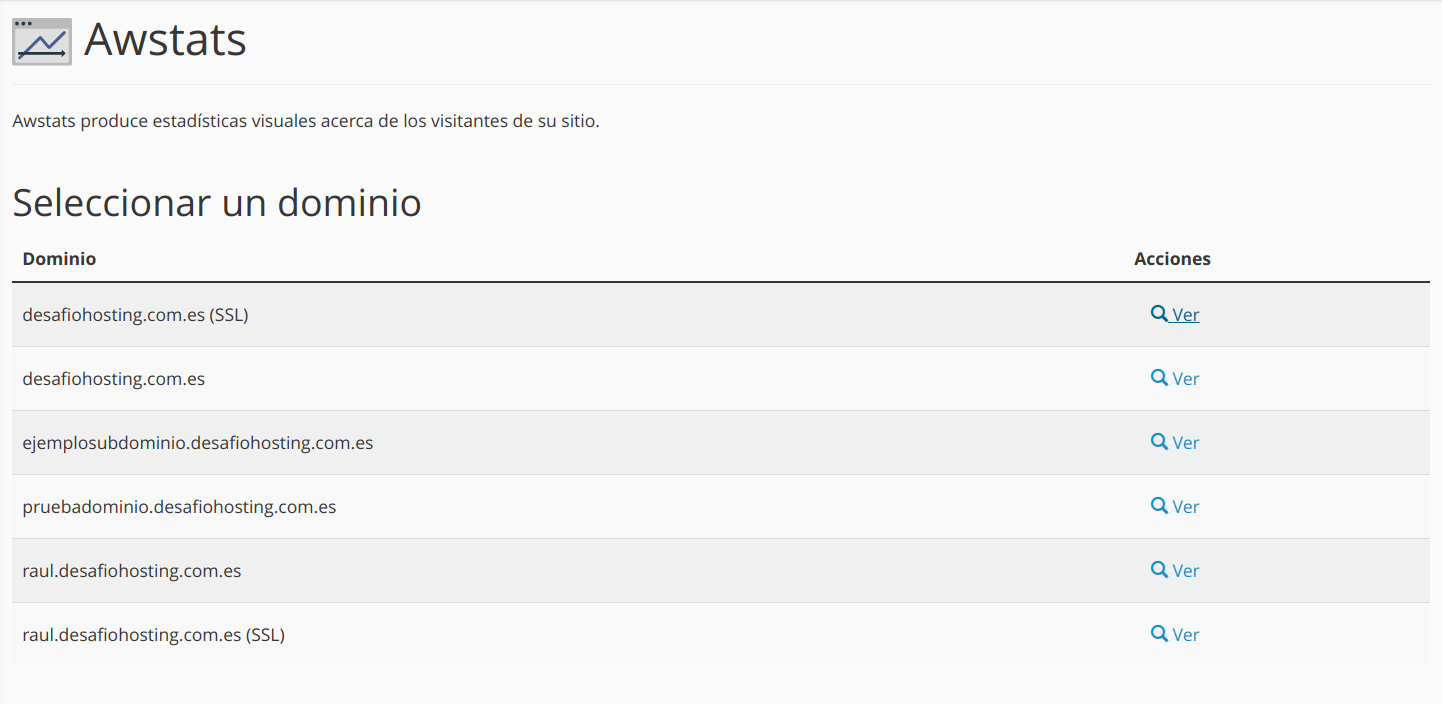
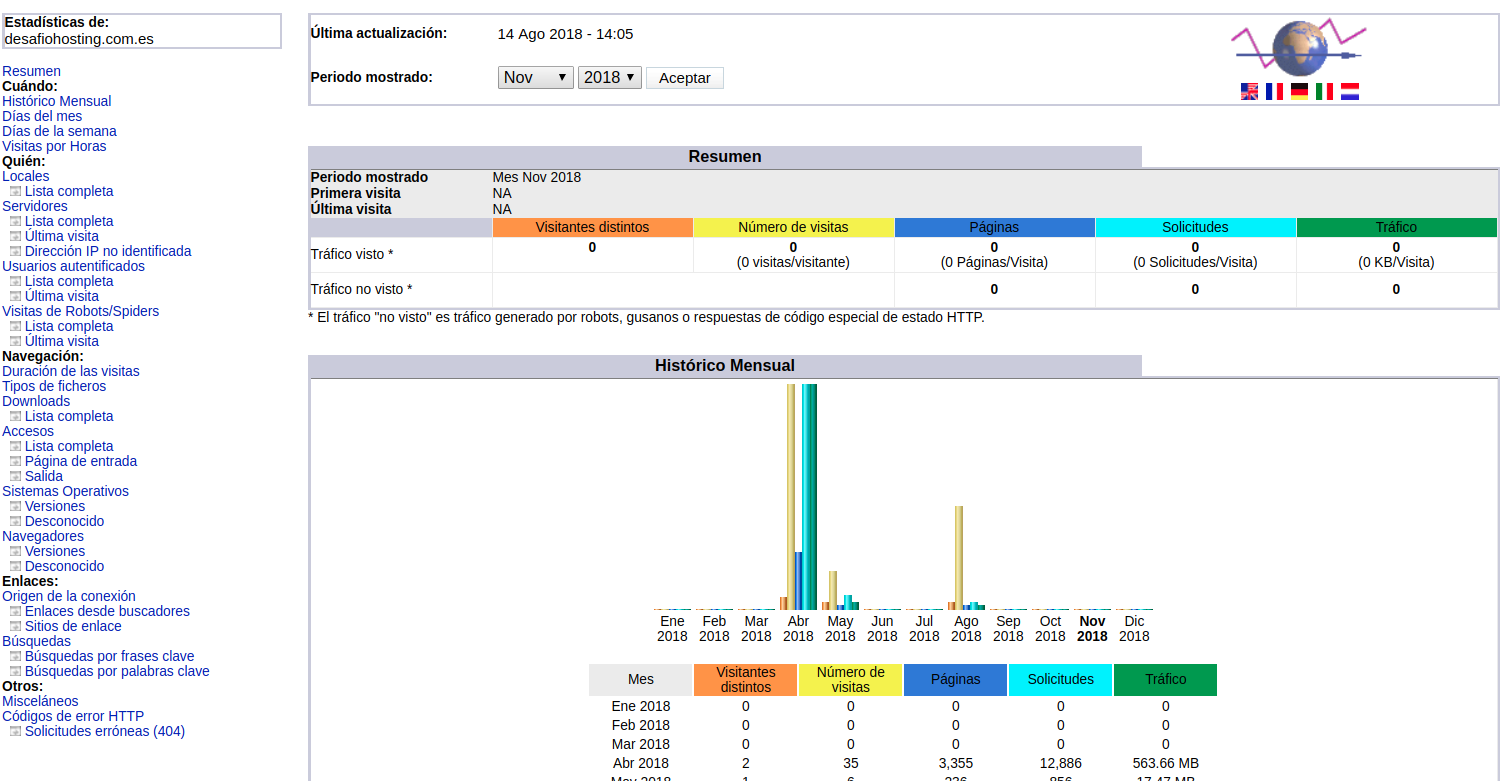
When we enter we will see a list of the domains we have and choose the domain from which we want to view the AWStats
HOW TO CHECK THE CONSUMPTION OF RESOURCES IN CPANEL
In order to check the resource consumption in cPanel (RAM, CPU, ETC ...) the first thing we need is to have Cloudnix installed, which will allow us to see the statistics of the resources.
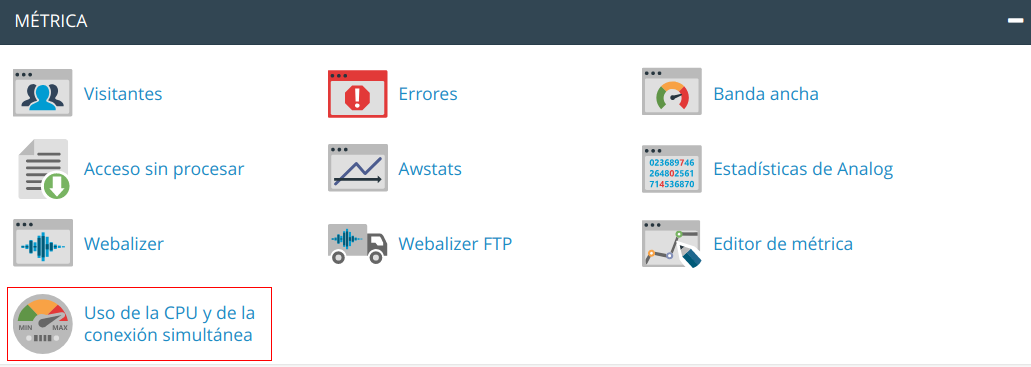
We must move to the section of "Metrics" and we enter the option of "Use of CPU and simultaneous connection"
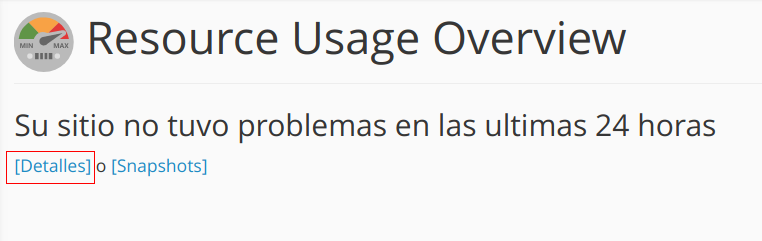
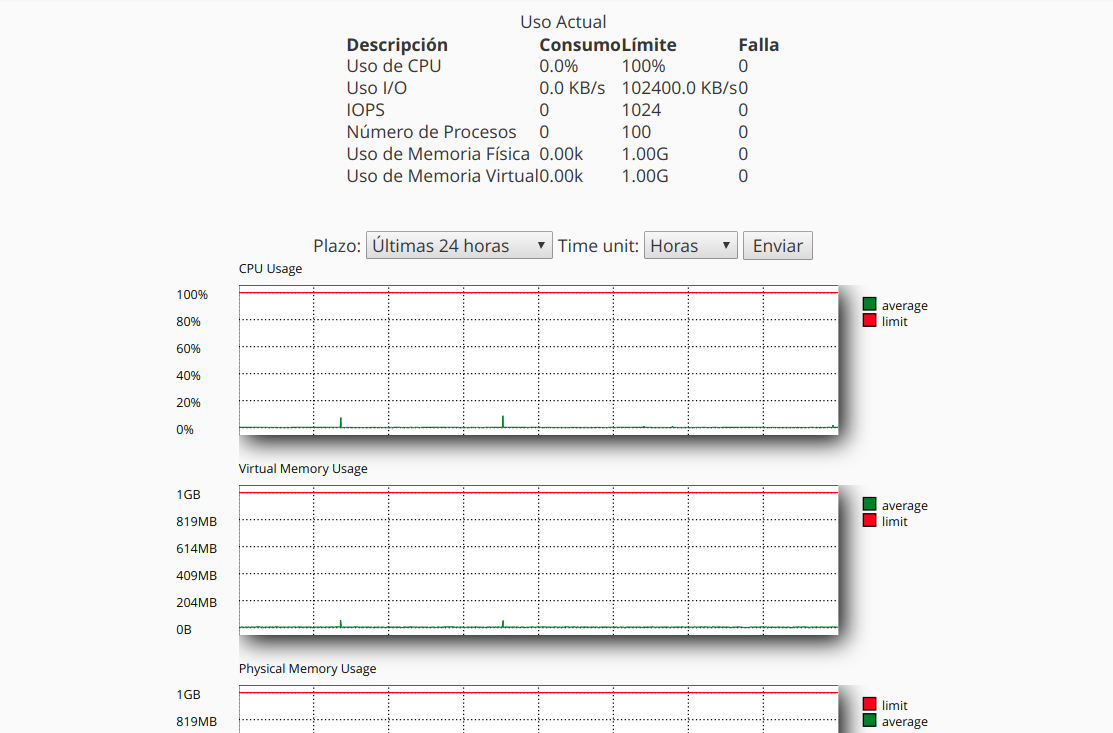
The following window will open and we will have to select the option «Details» and we will be able to see the statistics of the resources consumed.
HOW TO ACTIVATE AND DEACTIVATE MOD_SECURITY IN CPANEL
To activate and deactivate modsecurity, the first thing we have to do is scroll to the section on "Security" and we enter the option "ModSecurity"

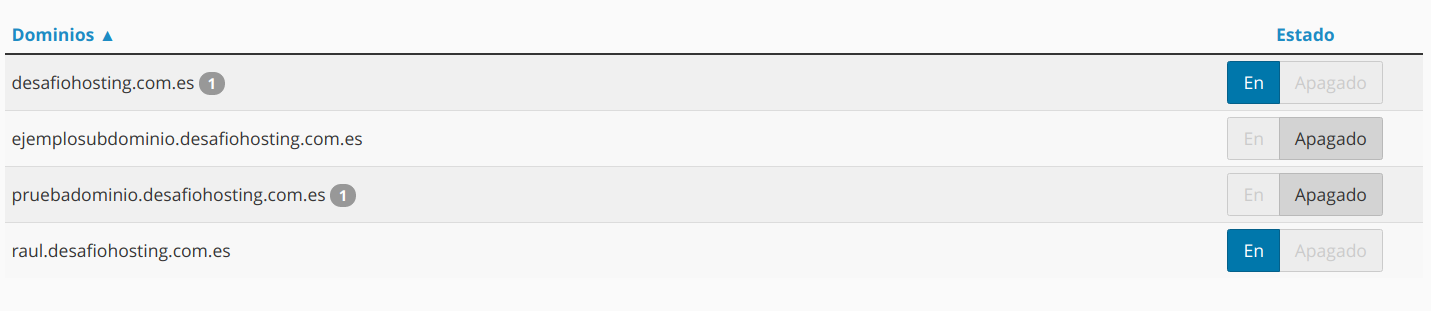
Once inside we can see a list of our domains and we can activate or deactivate modsecurity for the domain we want.
PROTECTION AGAINST HOTLINKING IN CPANEL
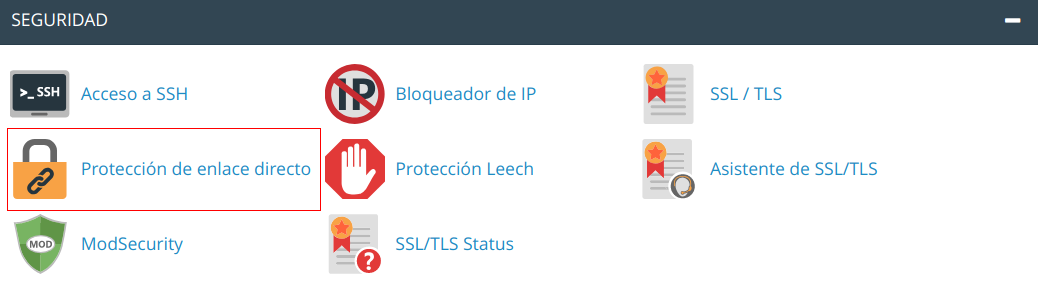
The first thing we have to do is scroll to the section of "Security" and we enter the option "Direct Link Protection"
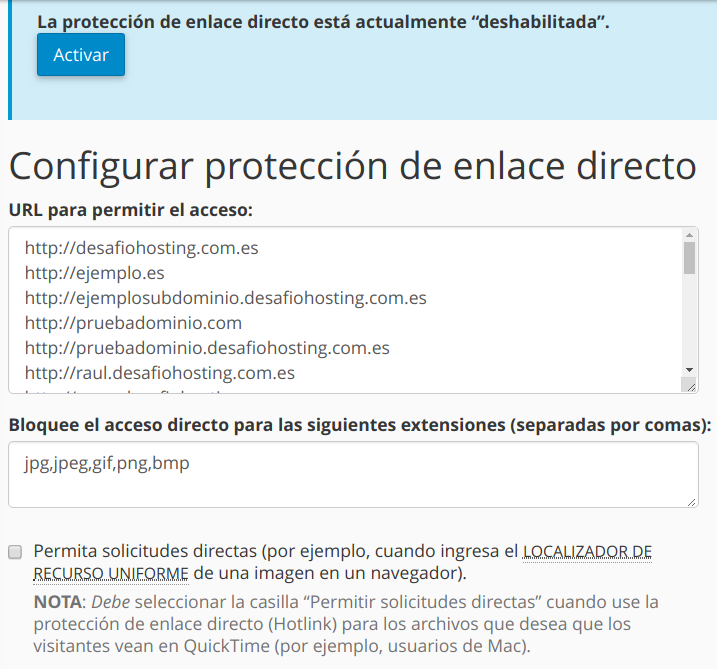
A window will open where, in addition to activating this option, we can add URLs to allow access, add extensions to block direct access or even enter a URL to which to redirect the request.
BLOCK IPS ATTACKERS FROM CPANEL
Knowing how to defend yourself against attacks directed by certain specific IPs is very important, for this reason in cPanel there is a very useful tool for this type of attack.
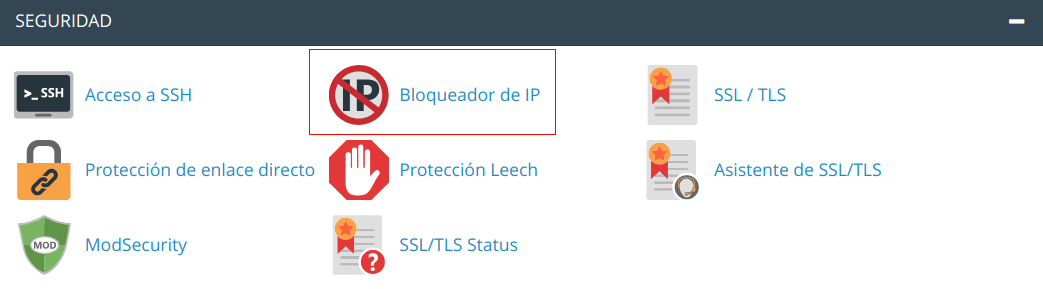
The first thing we have to do is scroll to the section of "Security" and we enter the option "IP Blocker"
When we enter the first thing we will see will be the field in which to enter the IP range that you want to block.
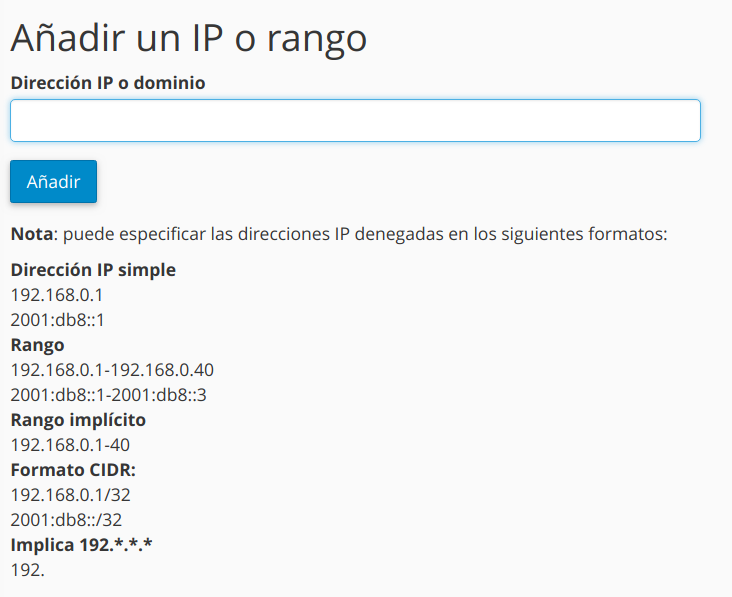
Once we have entered the IP that we want to block, it should appear in the list of blocked IPs that is just below.

ACTIVATE DEFLATE OR GZIP IN CPANEL
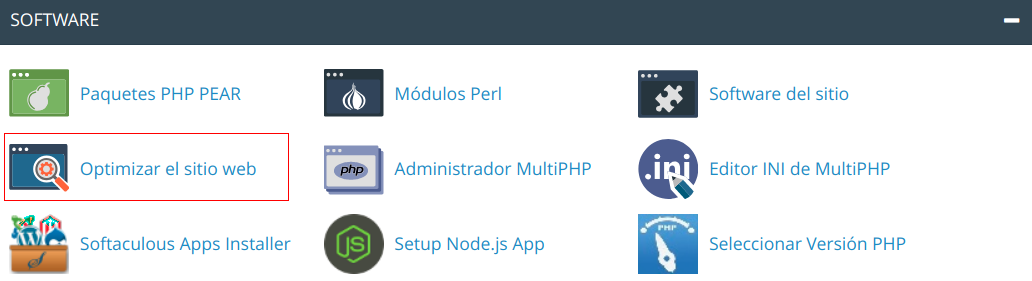
To activate Deflate we will have to do a simple step, to start the first thing is to move to the section of "Software" and we give the option of "Optimize website"
Then we must check the second box called "Compress all content"
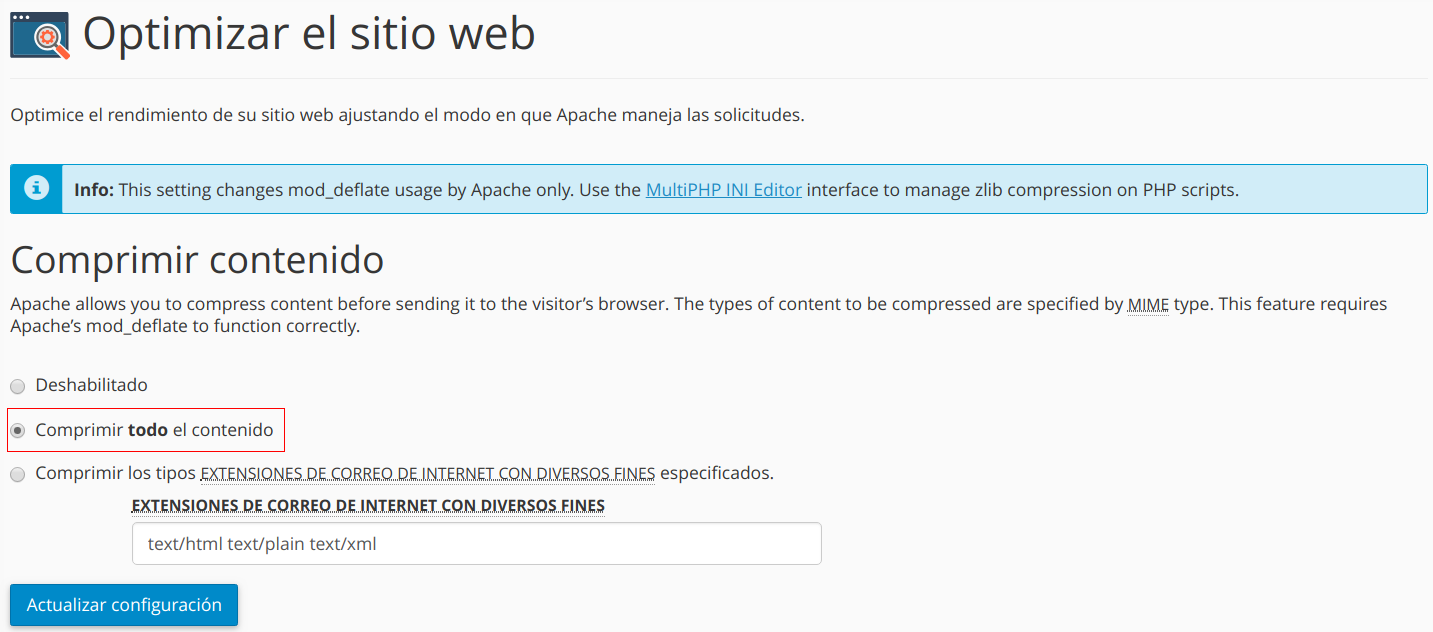
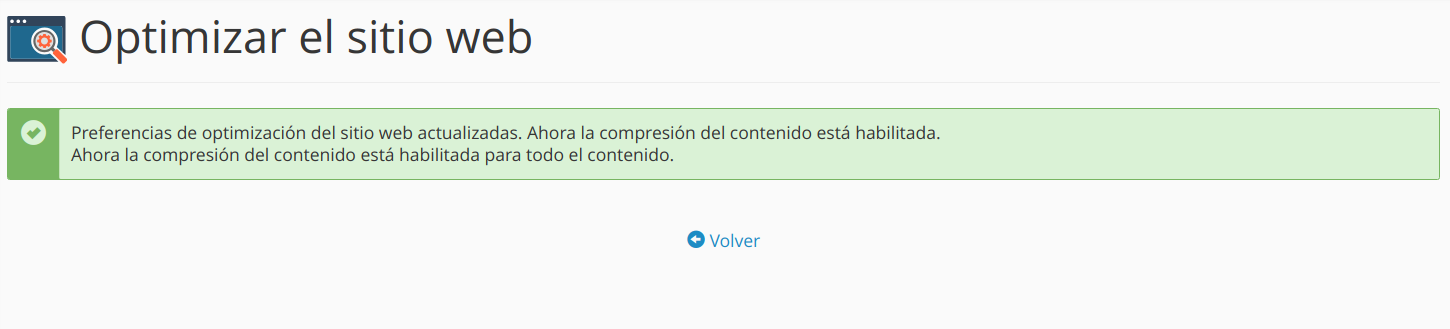
We give the button "Update configuration" and a confirmation message will not appear.
SELECT THE PHP VERSION USED FROM CPANEL
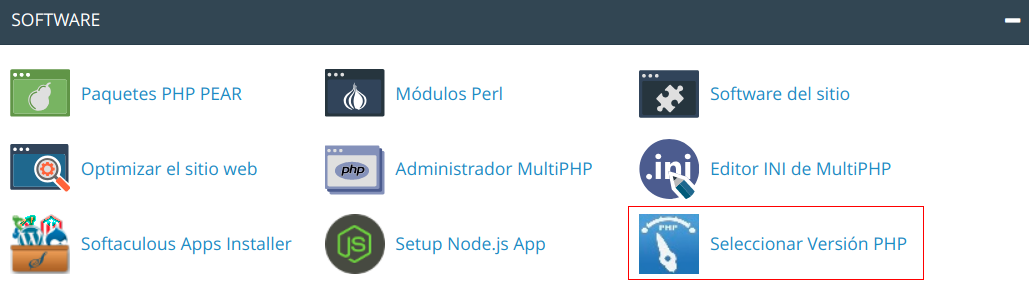
To select the version of PHP you want for cPanel, the first thing we must do is scroll to the section on "Software" and select «Select PHP version»
When it opens we can select the desired PHP version
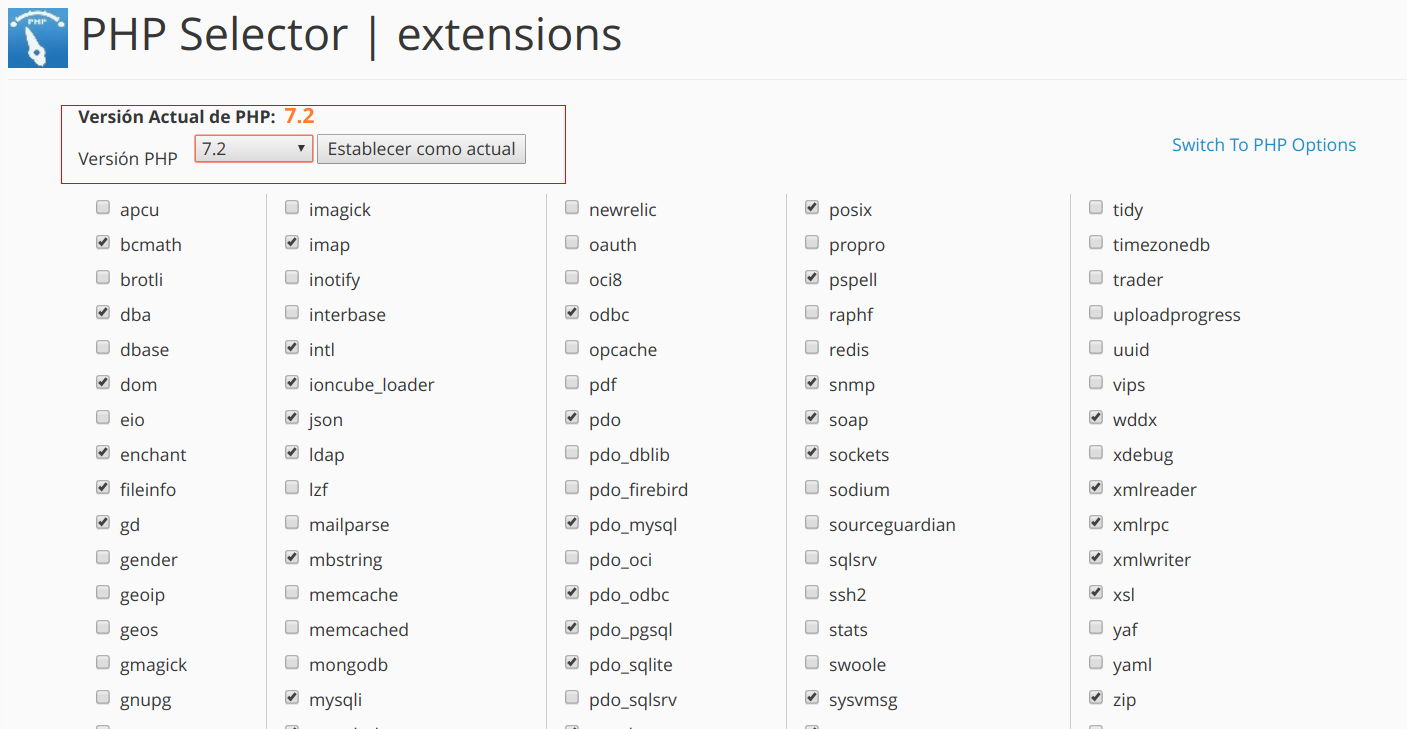
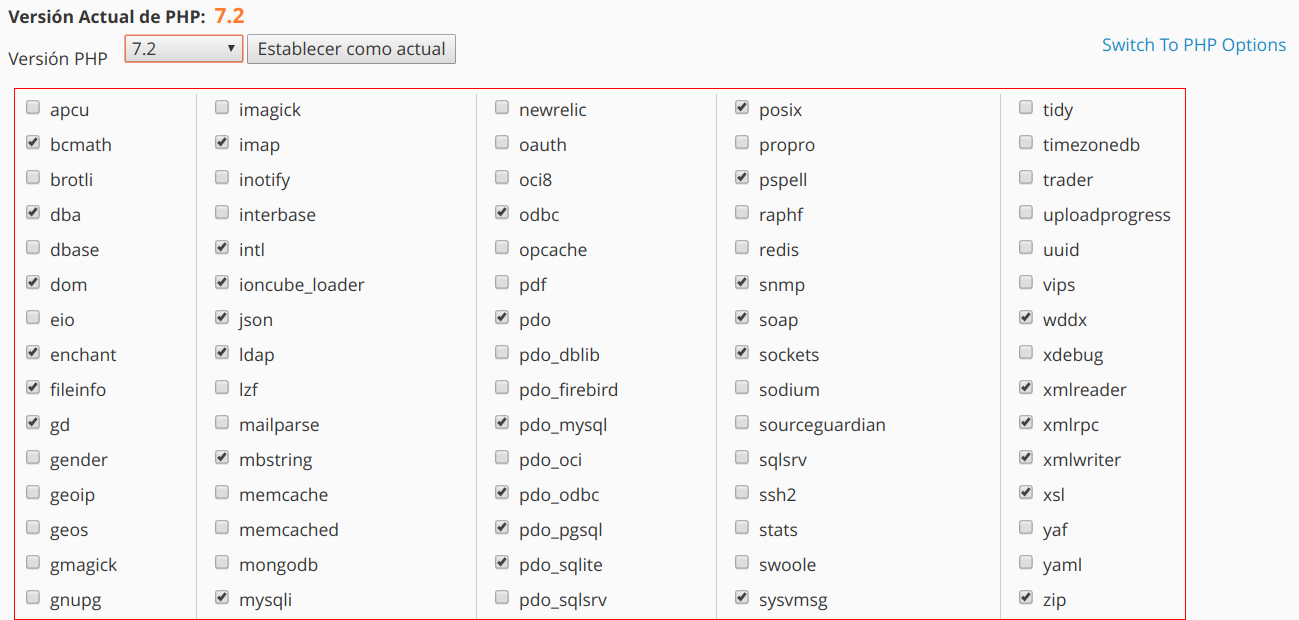
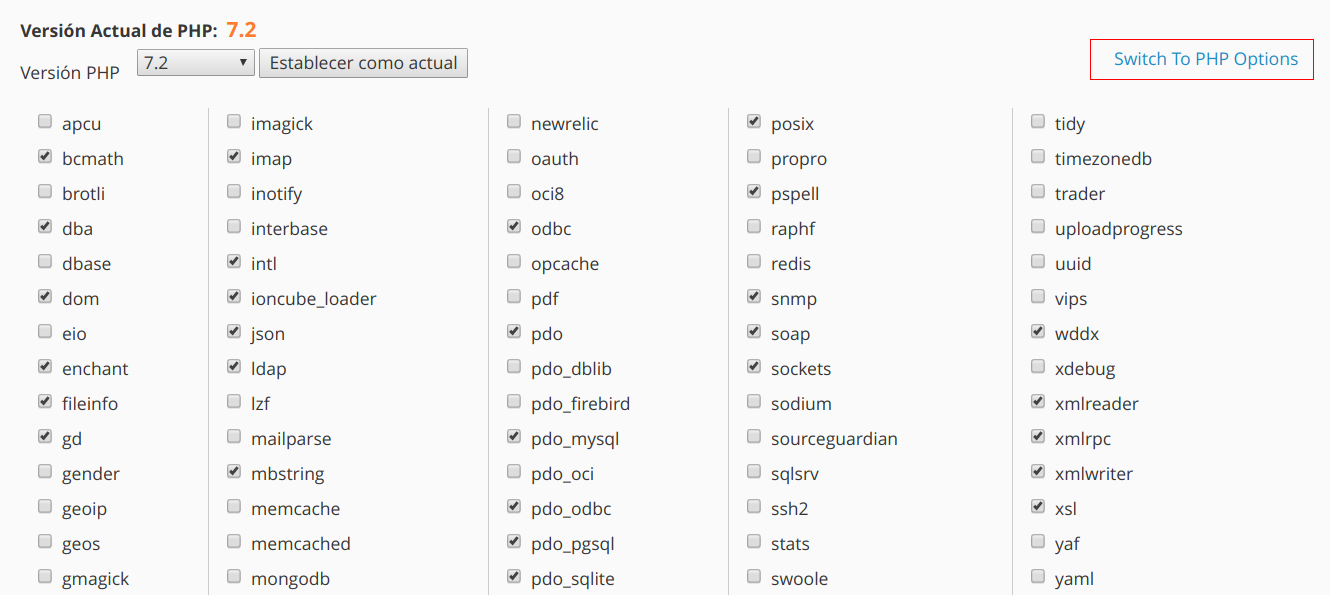
HOW TO CONFIGURE PHP EXTENSIONS OR MODULES IN CPANEL
To select PHP extensions or modules, the first thing we must do is scroll to the section on "Software" and select «Select PHP version»
In the next window, the PHP modules and extensions for each PHP version will appear and we will only have to mark or unmark the ones we want.
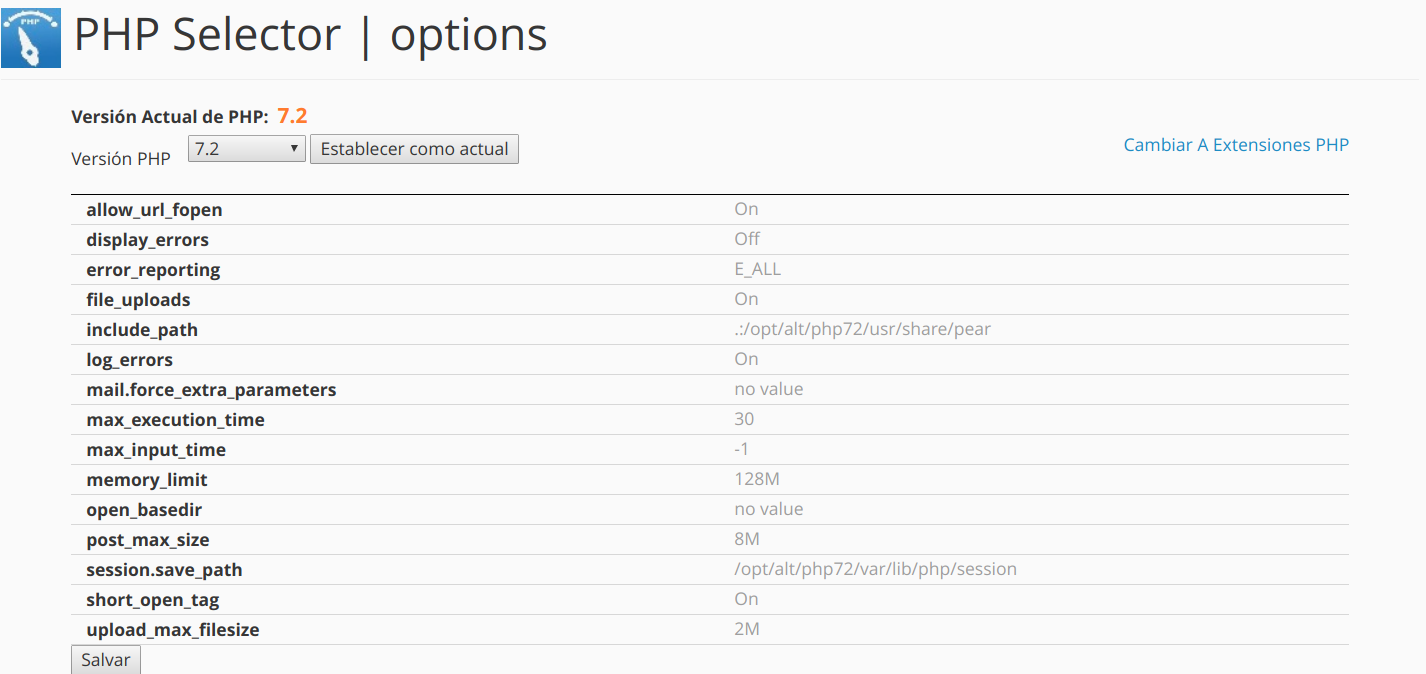
CONFIGURE PHP VARIABLES AND LIMITS FROM CPANEL
To configure the variables and limits of PHP, the first thing we must do is scroll to the section of "Software" and select «Select PHP version»
Within this window we select the option "Switch to PHP Options" found in the right part of the window
And a table will open in which we can edit the variables and PHP limits as we want
HOW TO INSTALL A CMS WITH CPANEL FROM SOFTACULOUS
To install a CMS from softaculous we must first go to the section of "Softaculous APPS Installer" and select the option "Softaculous Apps Installer"

In the Softaculous window that will open we can see a list of CMS that we can install, in our case we have chosen for the guide "PrestaShop"
We select it and we will only have to give the install button that is next to the description
